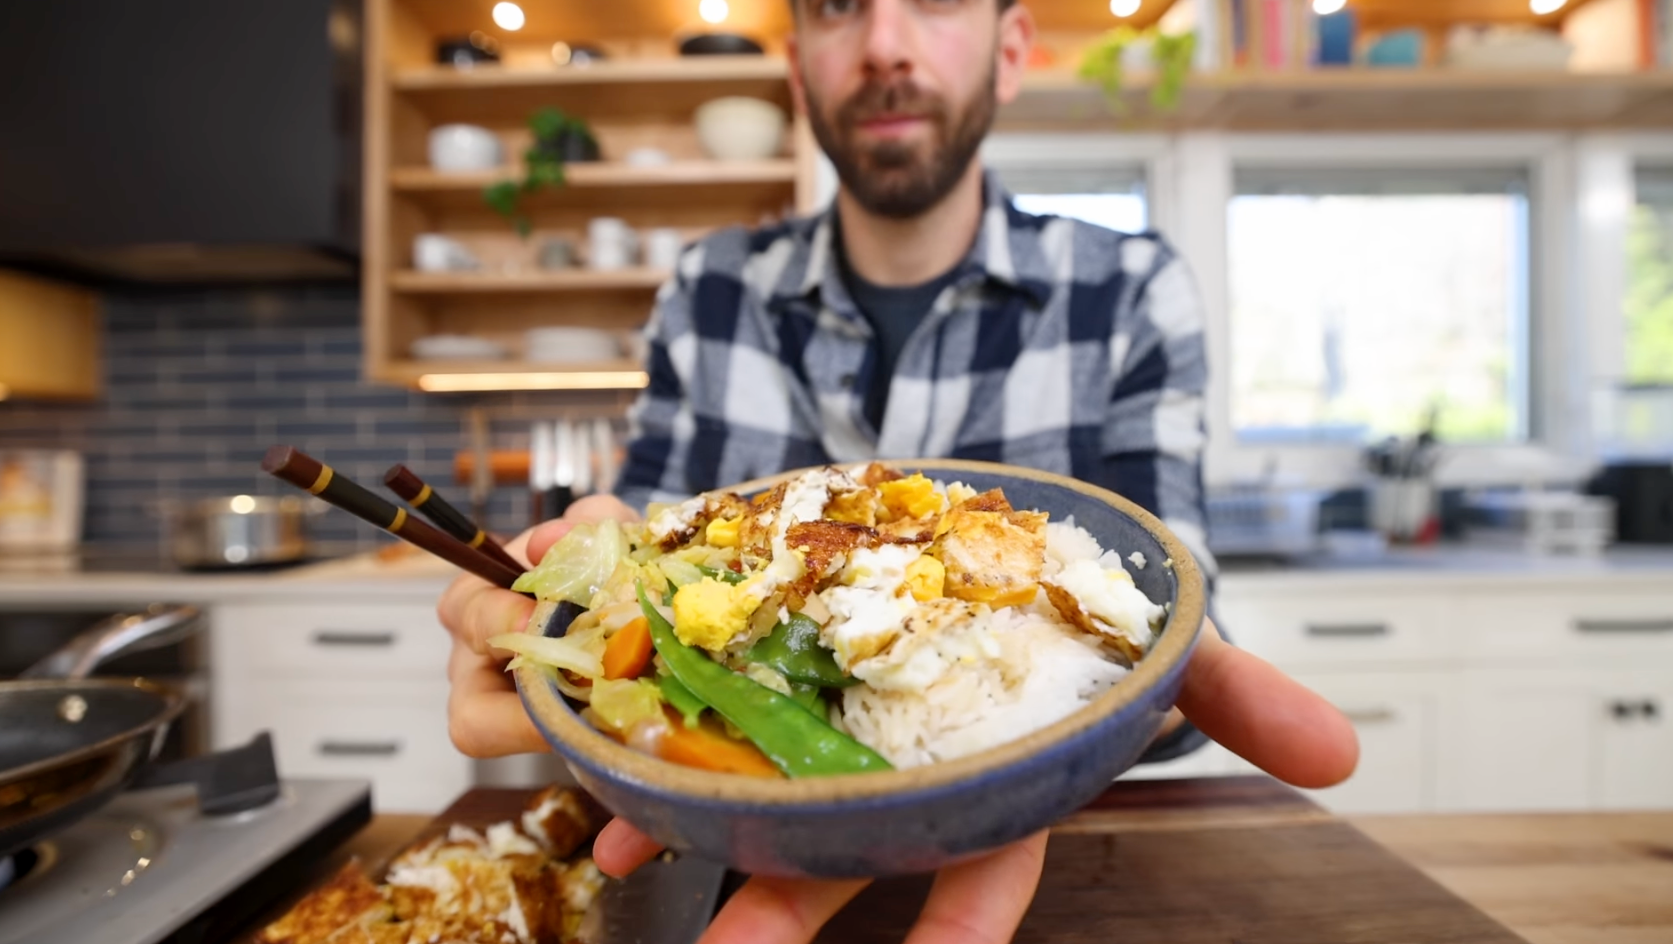
5 Steps to Fresh Tomatoes All Year Round
By Alex Chung
Senior Food Writer at Pro Home Cooks
Fermenting things has become sort of second hand in my kitchen. I’ll have fermented veggies lying around to make a great dish, super carbonated kombucha just waiting to be enjoyed, even some fresh sour dough bread waiting to be toasted for breakfast. However, fermentation starts off the same way preserving foods does, in a stable environment.A great way to get started in the big world of preserved and fermented foods is to can your own tomatoes!
But don’t worry about your tomatoes fermenting into something else because once we stick all the jarred tomatoes into hot water, it seals the jars tight and neutralizes the tomatoes so that you’ll can store it for up to one year! You can watch me can some red tomatoes in my most recent video here if you’re interested but I ended up making a second batch of orange tomatoes because I’m almost out of the red ones. The orange tomatoes came out to be a bit sturdier because they didn’t break down as easy as the red ones and they became sweeter once they were cooked. However, canning both of the tomatoes, despite their different flavor profiles left me with delicious tomatoes all year round and great inexpensive gifts to give to friends and family! So, gather up all your tomatoes and let’s get started on making some canned tomatoes.


Step 1: Prepping your stations
The first thing you want to do is to prep your tomato canning station. You’re going to need tons of glass air tight jars so grab as many as you can and either place them in the dishwasher or wash them by hand to make sure everything is super clean. Then get a large pot filled with water and bring that to a soft boil. Since I am still working on my studio and don’t have a stove top right now I used a temperature controlled brewing system from Claw Hammer Supply which is originally made for beer but it did an awesome job canning tomatoes! The last thing you’ll need before you get started is a large bowl filled with ice cold water.


Step 2: Shocking the Tomatoes
While the water comes to a boil, get all your tomatoes together and start making a little “X" at the bottom of the tomatoes. This step isn’t 100% necessary but it does help getting the skin off so I would recommend it. Start dropping the tomatoes into the pot and leave them there for about 1 minute. After the minute is up, take the tomatoes out with a spider tool or even some tongs and drop them into the ice-cold water. The quick temperature change from the boiling water into the ice-cold water helps the tomato skin separate from the flesh of the tomato which will leave you with an incredibly smooth product.


Step 3: Peeling & Blemish Control
Get started peeling the tomato skins off and then give tomato a good look. Are there any blemishes or small decaying parts of the tomato that you don’t want in your finish product? Well, this is the time to remove it. Get a nice sharp knife and just remove what you don’t want along with coring the top part of the tomatoes where the stem originally was.


Step 4: Dicing & Jarring
Then you can either squish the tomatoes, dice them, leave them whole, or even cut them up into tiny tiny pieces. I choose to dice them but the choice is yours! Once all your tomatoes have been peeled, cleaned, and broken down to your choosing get those jars out and start shoving in the tomatoes. You really want to get in as many tomatoes as you can into the jar but just be sure to leave a little bit of room at the top so that it can seal properly.


Step 5: Sealing & Storing 
Sealing the canned tomatoes Talking about sealing, once all your beautiful tomatoes have been jarred gently place the jars back into the hot water for 60 minutes. This is the part of the process where the tomatoes will cook a little bit more. The tomato will become vibrant in color, sweeter in taste, and the jars will properly seal so that you are able to store these until you need them! Do a quick check. When you touch the top of your jar is there a bounce back? If there is a bounce back/popping noise leave them in the pot for another 15 minutes before checking again. Once they come out without a popping noise then they are perfect. Congratulations, you have finished making your own batch of jarred tomatoes! You can pull them out, let them cool down, and store them on a shelf or you can even be an old school nonna and hide them in your closet!
TOP ARTICLES

By Alex Chung
Senior Food Writer at Pro Home Cooks
Published
Sourdough Baking School
Master the art of sourdough bread baking in the most comprehensive baking class on the internet. This class features over three hours of baking content to help you start your sourdough journey.
See More