Japanese Milk Bread
By Alex C
Senior Food Writer at Pro Home Cooks

There are many breads like focaccia and baguette that are made 100x better by using a starter as a leavening agent but when it comes to white breads, they’re actually better with instant yeast. They come out pillowy, almost feathery soft with a tight crumb and a tender crust. My favorite white bread of all time is Japanese milk bread. It contains more milk and butter than your typical store bought white bread leaving it with better flavor, texture and longer shelf life. It is ever so slightly sweet and although there is no tangzhong in this recipe I can promise you that it will still be the most insanely addictive milk bread you will have ever made.

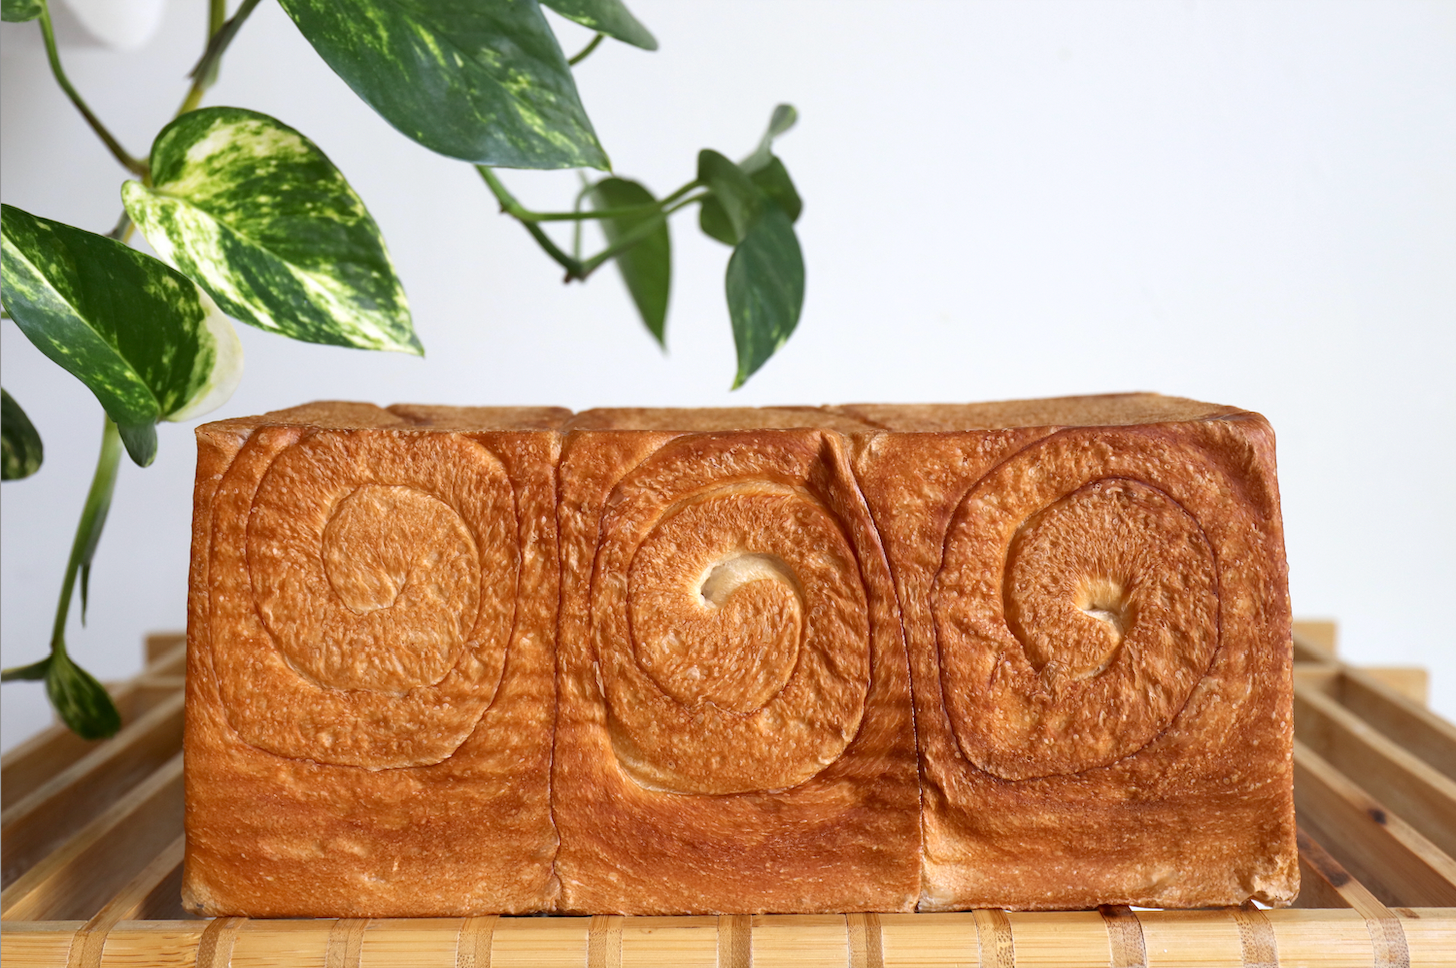
I have made this recipe countless times over the past three months and my family and I are in love. I have officially become the milk bread baker in the family and through my many trials I have a few things to tell you before you make your very first milk bread! First, you might notice the three spirals on the side of the milk bread. Although it seems like an easy step to skip, it's actually an important step to ensure that you have an evenly proofed loaf. Scaling them, dividing them into three, and rolling them so they all have a leveled top ensures that your final loaf will proof and bake evenly. Nobody wants their bread to be under/over proofed or lopsided!

Speaking of proofing, in order to get the perfectly square shape the bread's final proof will be in a pullman loaf pan. It is a regular loaf pan but with a sliding top to cover the pan. The one I use is 9x4x4 and will yield 12 - 14 slices depending on how thick it is. The bread must rise 85-90% of the way to the top, almost to the point where you can’t slide open the loaf pan anymore. This will ensure that you will have a light, fluffy and perfectly square bread. In my many tests, I have found that the final proof can take anywhere between 2 - 8 hours. During the warmer weather it will rise quicker but in colder weather I have even left it overnight and baked it fresh when I woke up. Keep an eye on it during the first two hours of proofing and you'll be able to assess how quickly it is rising by then.

The first couple of times I made this milk bread, I didn't have any leftovers. I was making milk bread every day so that we would have bread for our morning sandwiches but after a few days, I was able to better test out its shelf life. After 3 - 4 days the bread will still be soft but definitely drier so I stick it in the fridge and toast it to give it life anytime I want some bread. In the fridge it will last an additional 7 - 10 days.

Japanese Milk Bread
Ingredients:
300 grams of bread flour
30 grams of sugar
3 grams of rapid rise yeast
5 grams of salt
130 grams of whole milk
70 grams of water
30 grams of softened butter, cut into cubes
Instructions:
In a standing mixer bowl, combine the flour, sugar, yeast, and salt.
Next, add in milk and water. Knead with a dough hook attachment on low speed just until a shaggy dough forms. There should be no more dry flour and the dough should hold its shape well.
Increase speed to medium and knead for 5 minutes. Add cubed butter and knead for an additional 2 minutes, or until butter has fully incorporated.
Increase the speed to medium-high and knead for 5 minutes. Here you might notice that the dough is slightly sticking to the bowl. Add about a tablespoon of flour.
Then increase the speed to high and knead for another 4 minutes or until the dough separates easily from the bottom of the bowl and looks smooth.
Check gluten structure with the windowpane test - gently stretch a part of the dough into a square with your thumb and index fingers. If it can stretch without tearing, and light can pass through the center, then the dough is ready. If it tears easily or doesn’t stretch, knead it again at high speed for 2 minutes and try again.
Once your dough is ready, shape into a ball and place in a lightly oiled bowl. Cover and let rise in a warm place until doubled in size. (Approx 1 - 2 hours)
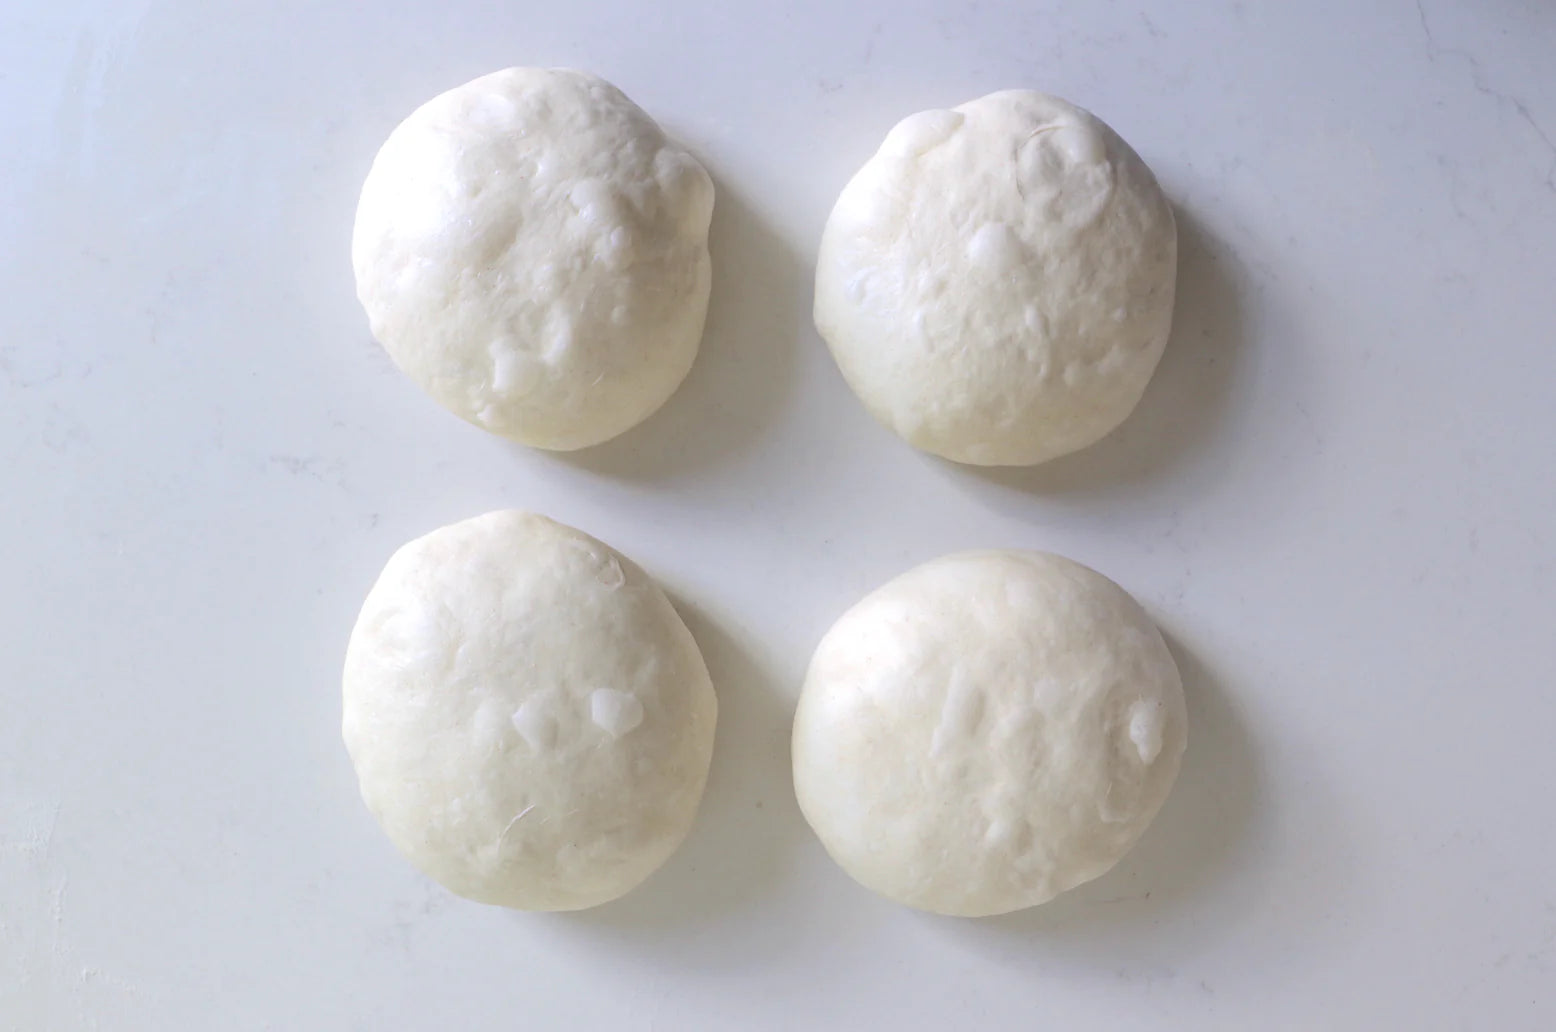
Gently tip out the dough and weigh it on a scale. Divide it into three equal pieces with a bench scraper and shape each piece into a ball. Cover and let rise for 15 minutes.
Flatten out one ball and roll into a log. Place it seam side down and repeat with the two remaining dough balls. Let rest for 15 minutes.
Roll out the log into a long rectangle (about 15 inches long). Then tightly roll it into a log again. Repeat with the remaining logs. See photos for some visual help!
Place the rolls seam side down into a loaf pan (9x4x4). Cover and let rest until dough has risen about 85-90% to the top or when there’s resistance when trying to pull back the lid. This can be anywhere between 2 - 8 hours. It really depends on the temperature of your house.
Preheat the oven to 375°F during the last hour of proofing. Bake the loaf for around 30 - 32 minutes. Then let it cool in the pan for 5 minutes.
Remove and transfer to a wire rack letting it cool completely. (Approx 1-2 hours) Slice with a serrated knife and enjoy!
TOP ARTICLES

By Alex C
Senior Food Writer at Pro Home Cooks
Published
Sourdough Baking School
Master the art of sourdough bread baking in the most comprehensive baking class on the internet. This class features over three hours of baking content to help you start your sourdough journey.
See MoreMore Articles
12 Ingredients
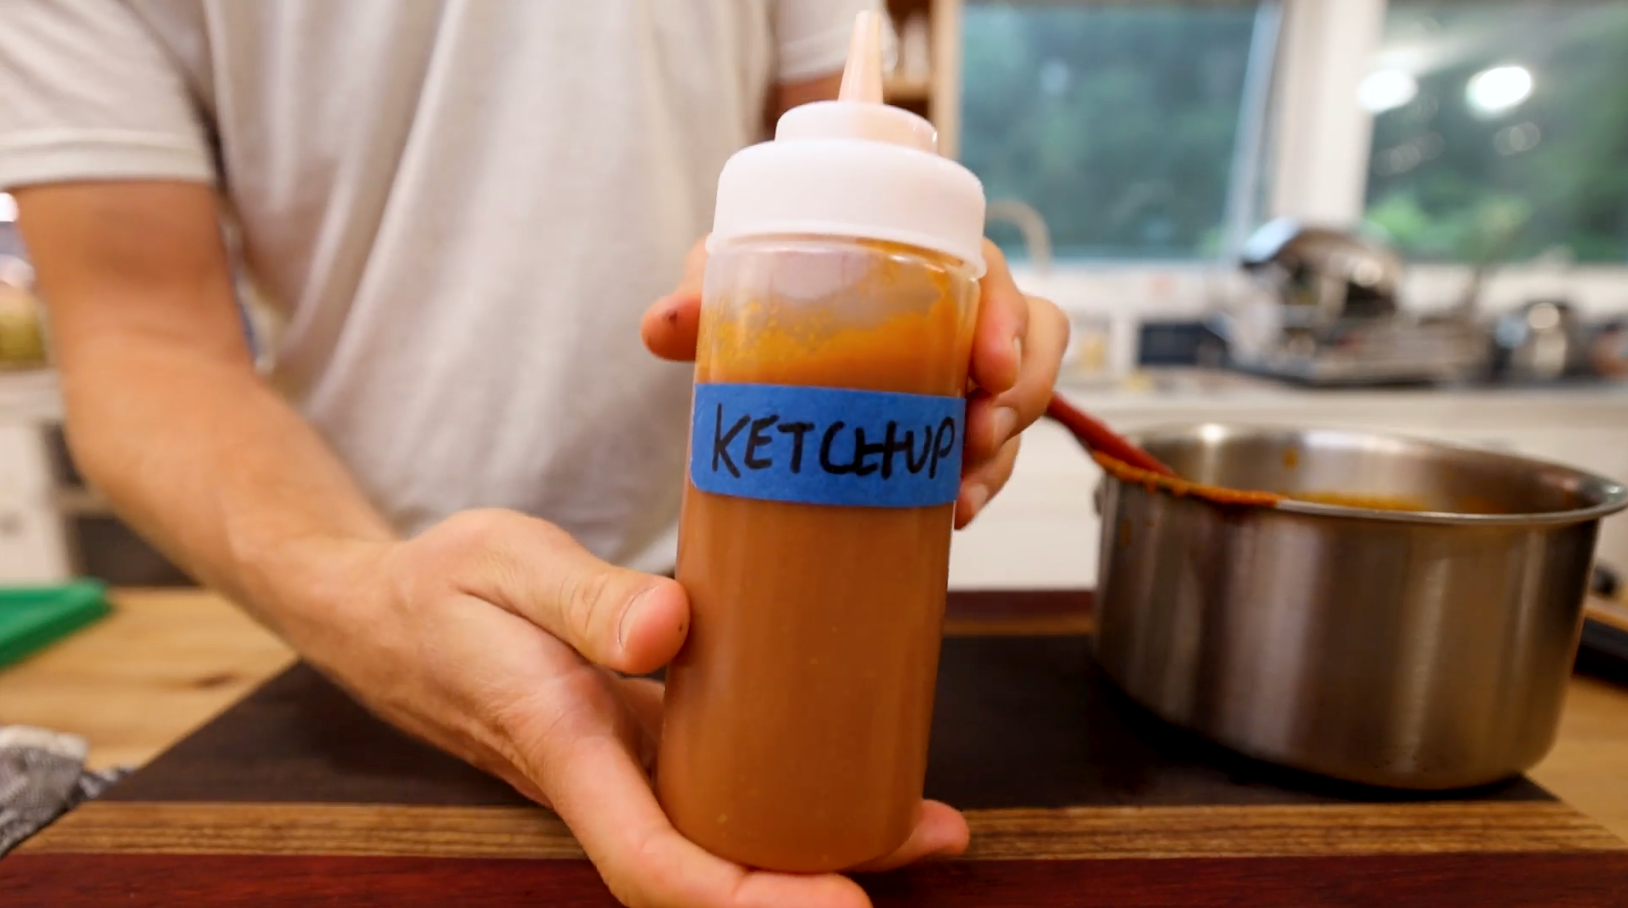
Homemade Ketchup
12 Ingredients
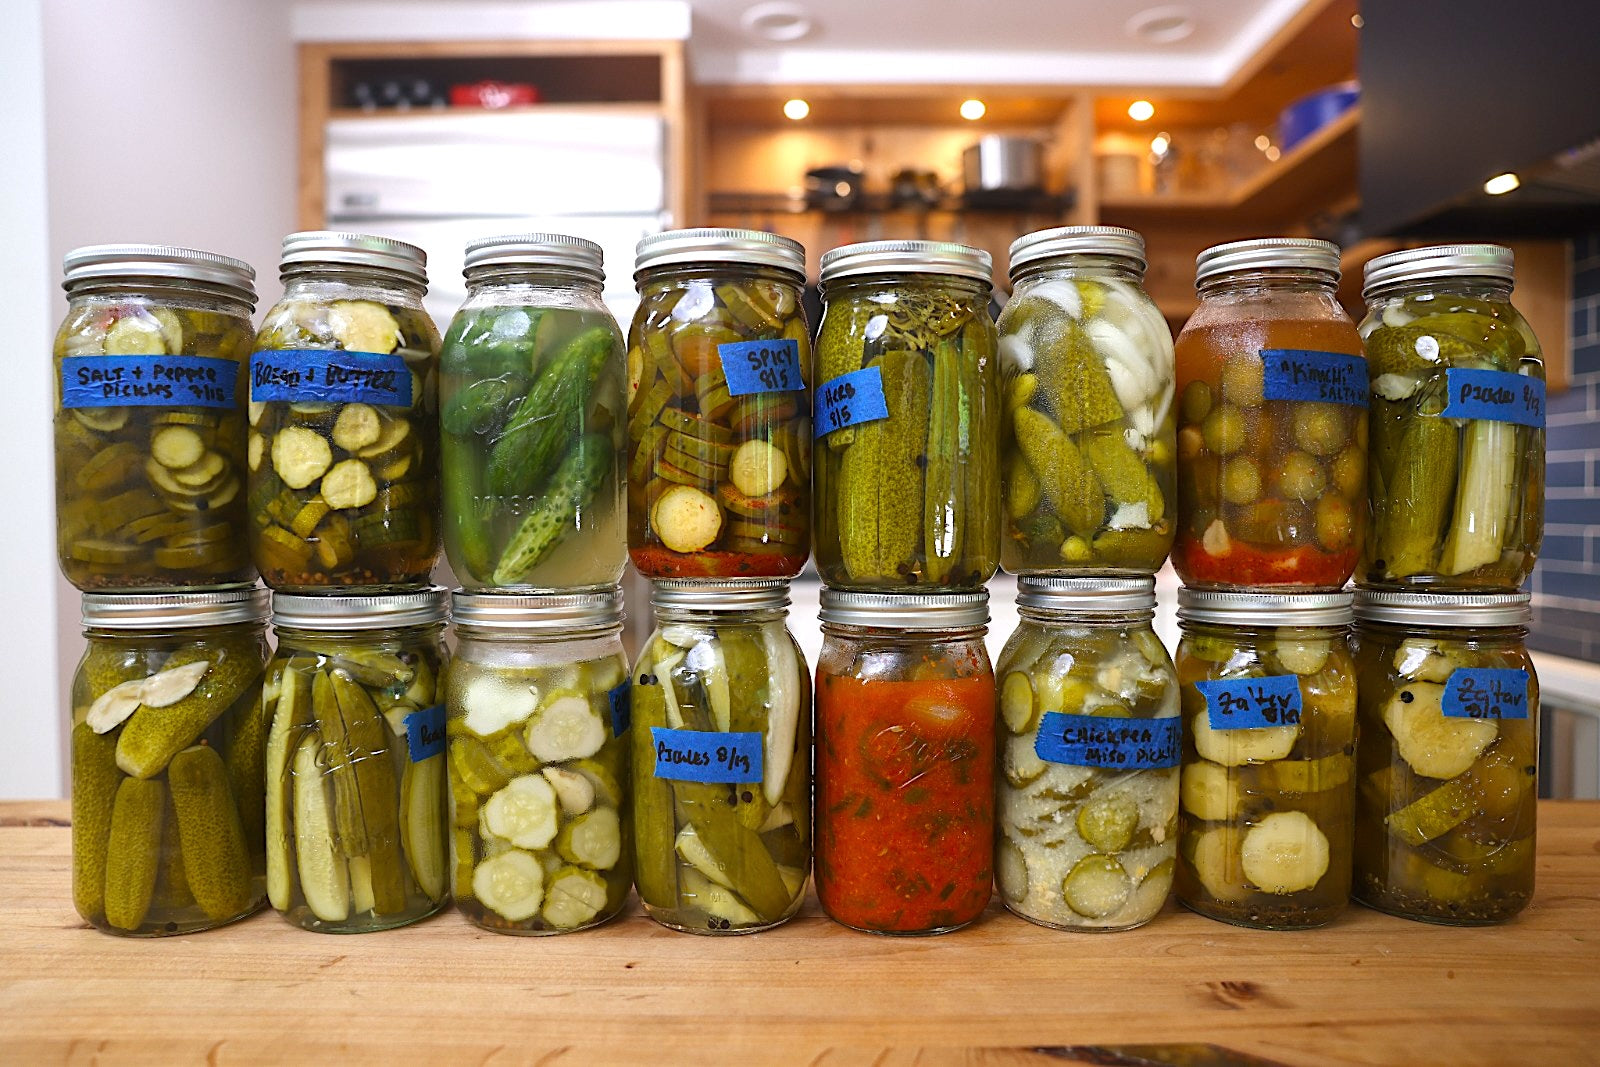
Beginners Guide To Pickling Cucumbers!
12 Ingredients
Total Time - 24
Overnight Pizza Dough

12 Ingredients
Thai Style Vegetable Stir Fry
12 Ingredients
Lamb Barbacoa
12 Ingredients
Japanese Cabbage Pancake - Okonomiyaki
12 Ingredients