How To Make Jam For Beginners
By Alex C
Senior Food Writer at Pro Home Cooks
When there was no canned foods or freezing available, making preserves such as jam was a way to store fresh produce. Once preserved the jam can be eaten throughout the year when fresh fruits and vegetables are scarce. But even though technology has advanced and we no longer need to preserve our fruits, we still love to eat jam! Can you imagine a biscuit without clotted cream and jam? I definitely cannot!
Making jam is a process that involves transforming fresh fruits (whole, chopped, or pulped), sugar, and often an acid (such as lemon juice) into a thick, sweet spread. The process typically involves cooking the mixture long enough to allow natural pectin and sugar to thicken and preserve the fruit.

There are four things that make a jam shelf stable and they are pectin, sugar, acid, and heat. Let's start off with pectin. Fruits naturally contain a setting agent called pectin.Pectin is released during cooking, but different fruits contain different amounts of pectin. The more pectin there is, the easier and quicker your jam will set. The quicker the jam sets, the shorter the cooking time and the fresher flavor you’ll have. Some fruits like apples, citrus peel, blackberries, and red currants are very high in pectin while others like strawberries, peaches, mango, pineapple, watermelon and bananas are very low in pectin. However, studies have shown that unripe fruit high in pectin will have a higher amount of pectin than the same fruit that has ripen. So depending on the variety of fruit you choose and its ripeness, it will affect the amount of pectin there is.

In order to have your jam set there are a few things you can do. One is to mix a high pectin fruit with a low pectin fruit. You can have delicious combinations such a berry medley (strawberry, raspberry & blackberry) or peach plum. The second option you can do is to add pectin powder! This will increase the amount of pectin needed to jell the fruit without having to add in other fruit flavors.

Next up is acid. Despite the delicious bright flavor that a good squeeze of lemon does to jam, it actually serves a purpose in jam making. Pectin requires a slightly acidic environment to gel properly so in order to achieve this, a good squeeze of lemon juice will do the trick to lower the pH and help release that all-important pectin. Lemon juice also helps preserve the fruit too!

Sugar is up next and it's a very important ingredient in making traditional jams for a few reasons. One is for the sweetness it brings but also because sugar helps set the jam and preserve it. It also helps to stop the pectin from breaking down as the fruit is being cooked. And lastly, we need to talk about heat. The heat does two things. One, it causes the pectin to activate and bond with the sugar resulting in a thicker more jam-like consistency. Two, once the mixture has started to simmer or boil the excess water will start to evaporate concentrating the fruit flavors.
After about 20 minutes of cooking, you can check if your jam is ready by performing what is called the wrinkle test. Place a cold plate in the freezer for a few minutes just to get cold. Next, grab a small spoonful of jam and drop it on the cold plate. Let it cool down. Once cooled, push the jam with your finger and if it wrinkles and holds its shape then it's ready to be jarred! If not, continue cooking it for another 5 minutes before performing the wrinkle test again.

The key to successful jam making is finding the right balance of sugar, pectin, acid, and cooking time to create a delicious, properly set jam. Different fruits might require slight adjustments here and there depending on the types of fruit you use, the ripeness, and if you choose to add any added pectin. Experimenting with flavors and techniques can lead to some delicious unique homemade jams and what better way to store your fresh fruits than by having them available all year long.

How To Make Jam For Beginners
Ingredients:
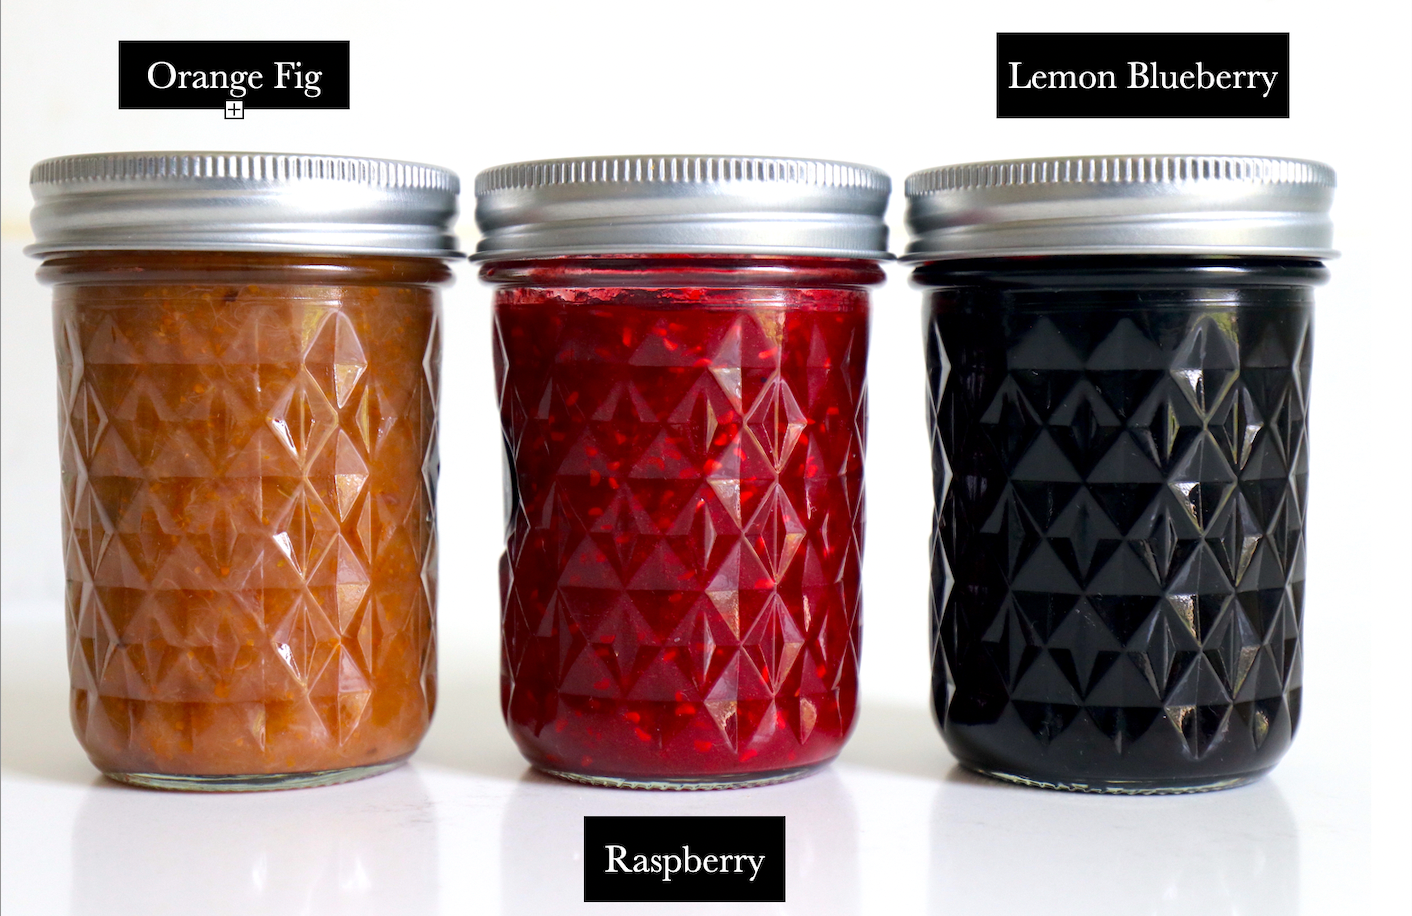
Orange Fig Jam Ingredients:
- 2 pounds of fresh figs
- 5 tablespoons of sugar
- Juice of 1 orange
- Zest of 1 orange
Blueberry Lemon Ingredients:
- 2 pints of blueberries
- 1/4 cup of lemon juice
- 2 tablespoons of water
- 1 tablespoon of lemon zest
- ½ cup of sugar
Raspberry Jam
- 12 ounces of raspberries
- 2 tablespoons of water
- 2 tablespoons of lemon juice
- ¼ cup of sugar
- 1 tablespoon of pectin powder
Instructions:
Orange Fig Jam Instructions:
- Wash the figs thoroughly under cold water and remove the stems along with any tough parts. Depending on your texture preference, you can slice them in half or chop them into smaller pieces.
- Place the figs into a non reactive pot along with the sugar, orange juice and zest. Give it a quick mix to combine all the ingredients together and let it stand for 10 minutes so some of the fig juices can release.
- In the meantime, grab your jam jar and its lid and give it a good wash under warm water. Set aside to dry.
- Place the flame on a medium heat and bring the figs to a simmer. As the juices start to release you can give it a quick stir to make sure nothing is burning at the bottom of the pot.
- Once it begins to simmer, let it continue to cook for about 20 minutes so that the figs can soften and the juices can thicken. You can stir and mash the figs to break them down even more if you’d like. If it thickens too quickly and you want the figs more broken down, feel free to add some water to allow for a longer cook time.
- To check if the jam has reached the desired jam consistency, you can perform a "wrinkle test." Place a small spoonful of the jam on a cold plate. Let it sit for a moment, then push the edge of the jam with your finger. If it wrinkles (see photos above) and holds its shape, the jam is ready! If not, allow it to cook for another 5 minutes before testing again.
- Once the jam has reached the desired consistency, remove the pot from the heat and carefully ladle the hot jam into clean, sterilized jars, leaving about ¼-inch ( of headspace at the top.
- Wipe the jar rims clean and seal with the jar's lid. Let sit until completely cooled. You know that it has sealed properly when you hear the jar pop or when you push down on the lid and it doesn't bounce back.
- Store in a cool dark place or in the refrigerator! Enjoy within a year.
Blueberry Lemon Instructions:
- Wash the blueberries thoroughly under cold water and place them into a non reactive pot along with the sugar, lemon juice, water and lemon zest. Give it a quick mix to combine all the ingredients.
- Place the flame on a medium heat and bring the mixture to a simmer. As the blueberries start to pop and juices start to release you can give it a quick stir to make sure nothing is burning at the bottom of the pot.
- Once it begins to simmer, let it continue to cook for about 20-30 minutes so that the blueberries can soften and the juices can thicken.
- In the meantime, grab your jam jar and its lid and give it a good wash under warm water. Set aside to try.
- To check if the jam has reached the desired jam consistency, you can perform a "wrinkle test." Place a small spoonful of the jam on a cold plate. Let it sit for a moment, then push the edge of the jam with your finger. If it wrinkles (see photos above) and holds its shape, the jam is ready! If not, allow it to cook for another 5 minutes before testing again.
- Once the jam has reached the desired consistency, remove the pot from the heat and carefully ladle the hot jam into clean, sterilized jars, leaving about ¼-inch ( of headspace at the top.
- Wipe the jar rim clean and seal with the jar's lid. Let sit until completely cooled. You know that it has sealed properly when you hear the jar pop or when you push down on the lid and it doesn't bounce back.
- Store in a cool dark place or in the refrigerator! Enjoy within a year.
Raspberry Jam Instructions:
- Wash the raspberries thoroughly under cold water and place them into a non reactive pot along with the sugar, lemon juice, water and pectin powder. Give it a quick mix to combine all the ingredients.
- Place the flame on a medium heat and bring the mixture to a simmer. As the raspberries start to release its juices you can give it a quick stir to make sure nothing is burning at the bottom of the pot.
- Let it continue to cook for about 15 minutes so that the raspberries can soften and the juices can thicken.
- Once the raspberries have broken down you can pass the mixture through a strainer to get rid of some of the raspberry seeds.
- While the jam is cooking, grab your jam jar and its lid and give it a good wash under warm water. Set aside to try.
- To check if the jam has reached the desired jam consistency, you can perform a "wrinkle test." Place a small spoonful of the jam on a cold plate. Let it sit for a moment, then push the edge of the jam with your finger. If it wrinkles (see photos above) and holds its shape, the jam is ready! If not, allow it to cook for another 5 minutes before testing again.
- Once the jam has reached the desired consistency, remove the pot from the heat and carefully ladle the hot jam into clean, sterilized jars, leaving about ¼-inch ( of headspace at the top.
- Wipe the jar rim clean and seal with the jar's lid. Let sit until completely cooled. You know that it has sealed properly when you hear the jar pop or when you push down on the lid and it doesn't bounce back.
- Store in a cool dark place or in the refrigerator! Enjoy within a year.
TOP ARTICLES

By Alex C
Senior Food Writer at Pro Home Cooks
Published
Sourdough Baking School
Master the art of sourdough bread baking in the most comprehensive baking class on the internet. This class features over three hours of baking content to help you start your sourdough journey.
See MoreMore Articles
12 Ingredients
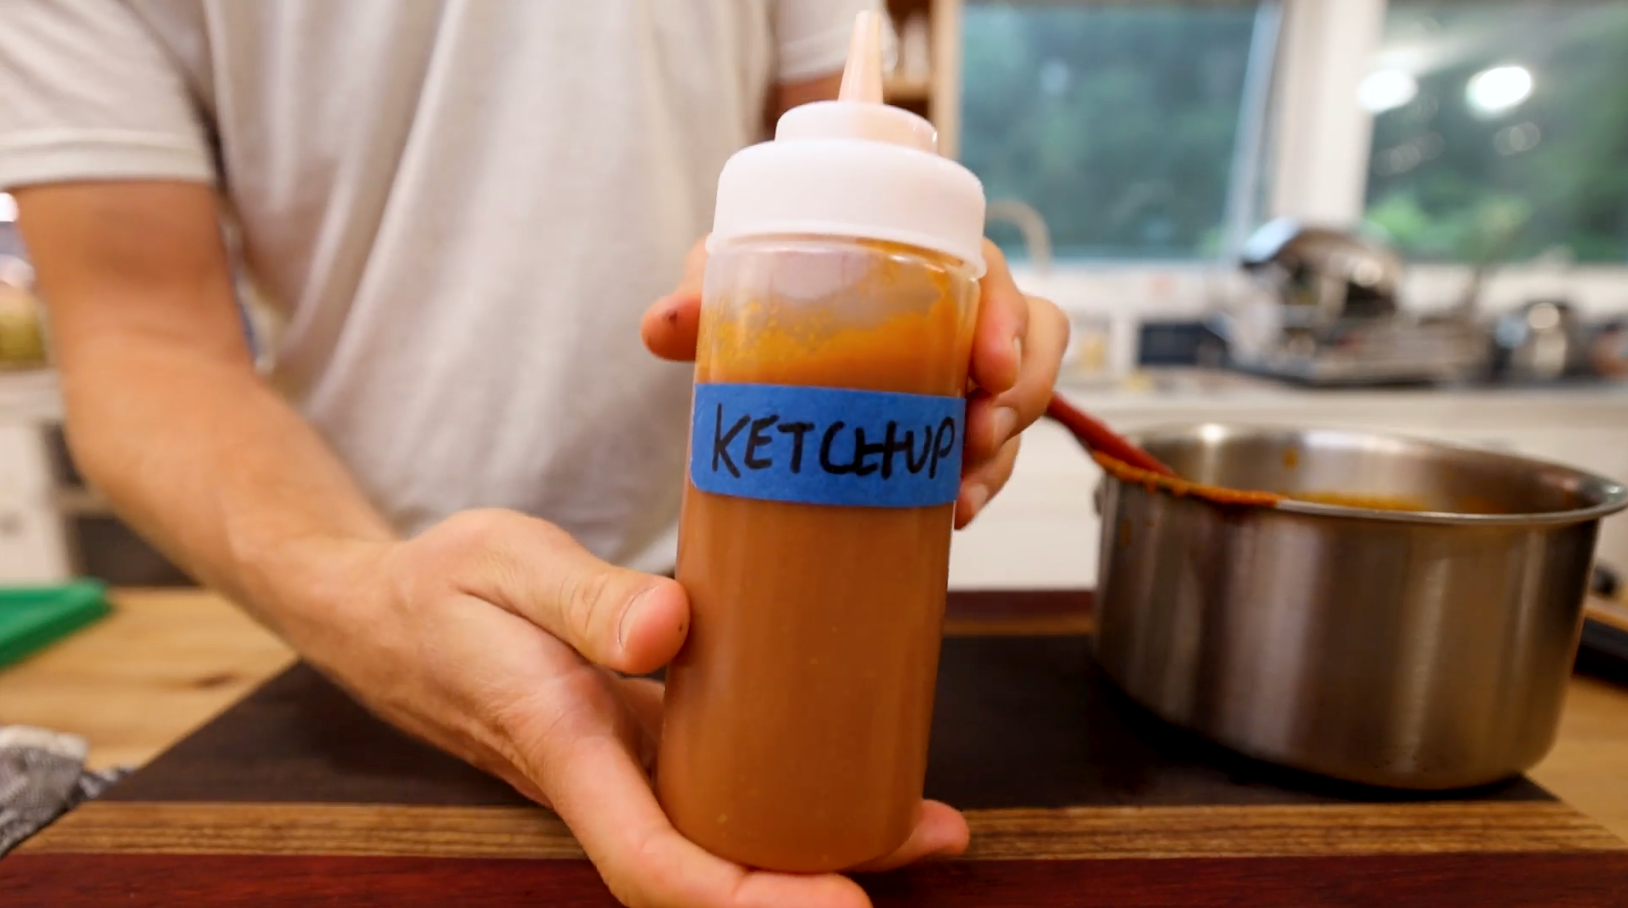
Homemade Ketchup
12 Ingredients
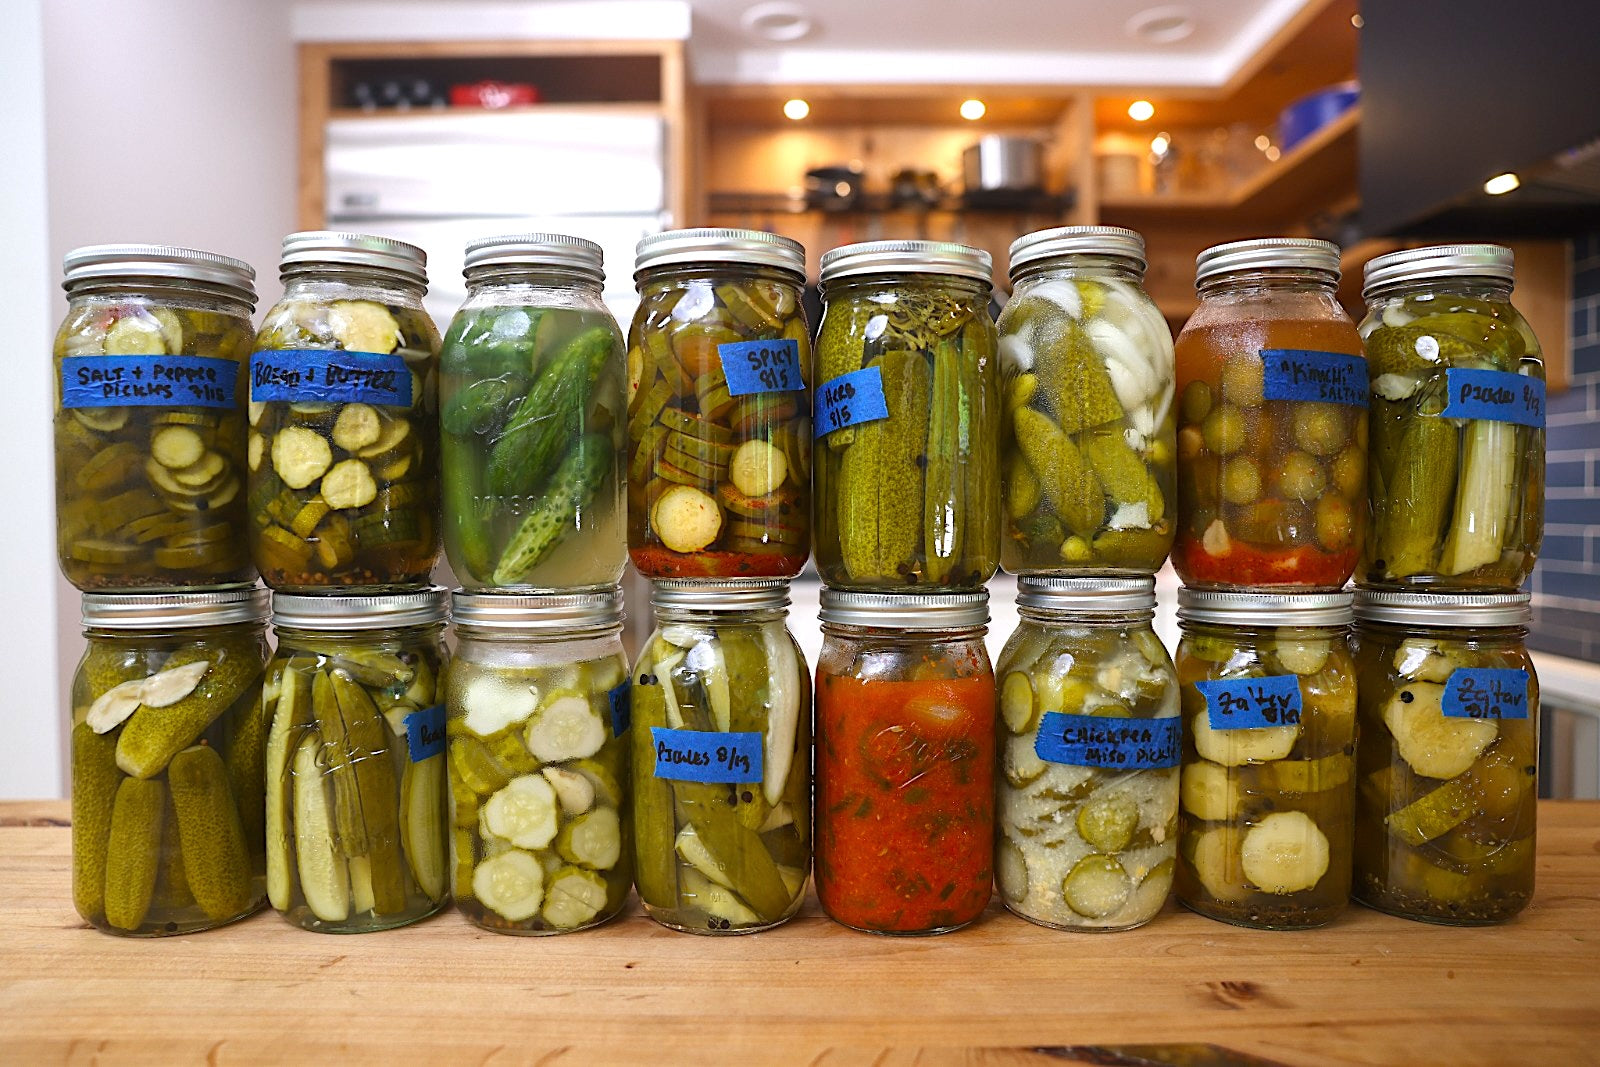
Beginners Guide To Pickling Cucumbers!
12 Ingredients
Total Time - 24
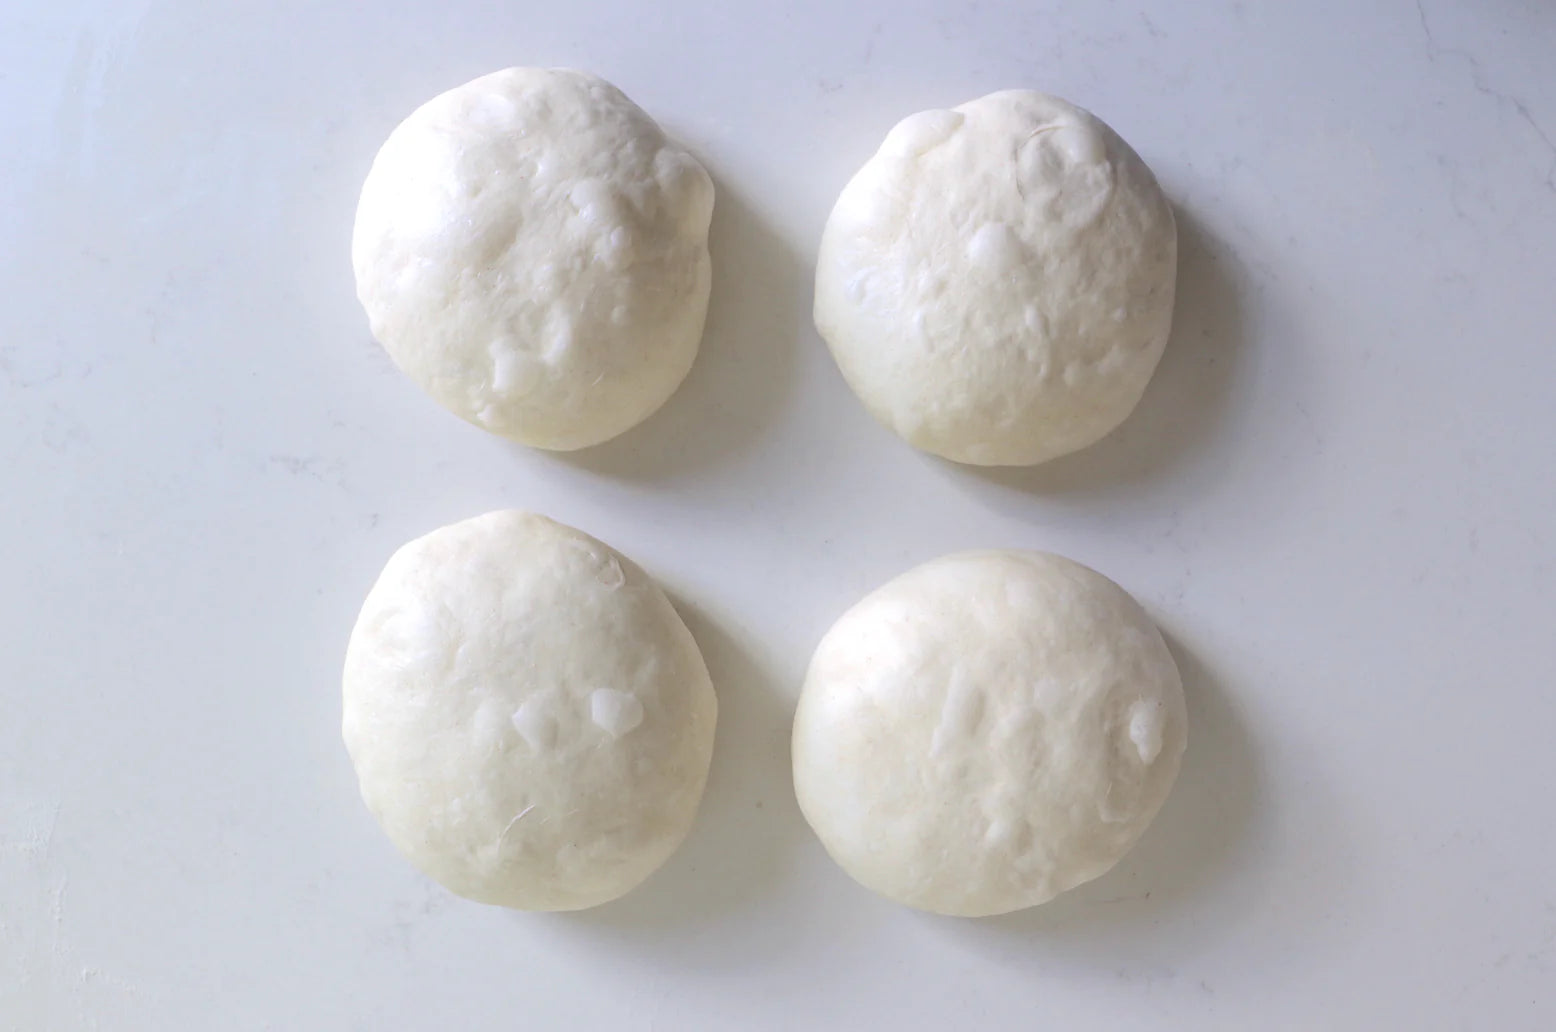
Overnight Pizza Dough
12 Ingredients
Thai Style Vegetable Stir Fry
12 Ingredients
Lamb Barbacoa
12 Ingredients
Japanese Cabbage Pancake - Okonomiyaki
12 Ingredients