15 mistakes for sourdough
By Alex Chung
Senior Food Writer at Pro Home Cooks
Over the years I have gotten so many messages, pictures, emails, and comments about sourdoughs gone wrong. Trust me, I have seen it all from too sticky, not sticky at all, no rise, no oven spring, dense, too chewy, or just plain bad doughs/breads. Well, no more bad sourdough for you. The wait is over. It is officially sourdough season and I have a complete video guide on the entire process of how I make my sourdough, how to make it work on YOUR time, and what you might be doing wrong.
In this video, we go over 15 of different things you might be doing wrong and how to fix them so you too can eat delicious, hot, crackly, right out of the oven, sourdough bread.

1. The Key To Great Sourdough/ A Healthy Sourdough Starter!
In order to make good sourdough you need an active sourdough starter. This means not thinking you can feed your starter for 1 day and thinking that your bread is gonna be great. By keeping an active starter, feeding it once a day, ideally twice a day, and that will give the best and most consistent results. If you’re not making bread a lot, all you have to do is feed your starter once a week and place it in the fridge.
I’m telling you I get so many pictures of beginners loaf’s that don't come out great, and many times its due to a weak starter. Keep it consistent.
Also, don't throw away your starter! Your sourdough starter from the night before isn’t super powerful but it has a great flavor. So pour your sourdough starter into a pan on medium heat with some oil in it and let that fry. Before you flip it, sprinkling it with some sesame seeds, scallion, and any seasoning you want. Flip it over and then cook it for another 4 - 5 minutes. This is delicious for breakfast or just a side snack!
Now back to my starter, we want 150 grams total so i'm going to feed it with equal parts water and plain white flour at 75 grams each. Let that sit out at room temp for 3-5 hours until its reaches its max height and activity, in the meantime we can move onto the next step.

2. Don't Forget Autolyse:
This step is just to combine the water and flour and develop which instantly starts to develop gluten bonds in the dough without doing any work.
You want to autolyse for at least 45 minutes but whole wheat will take a little longer. You can even do it overnight if you want but 45 minutes is a good time.
3. Using Baker’s Percentages.
Most recipes for sourdough bread is in baker’s percentage because they come from bakeries. Bakers percentages make its super easy to expand on your bread recipe which is necessary in bakeries.
Understanding bakers percentages is super easy, if you have 1000 grams of flour, and you want a hydration level of 80 percent that means the amount of hydration or the wetness of your dough, you just take 80 percent of your flour, which is 800. So the percentage is always related to the amount of flour.
Another great thing about bakers percentage is that you can add any amount of flour on a scale. So in this case, my goal is 1000 grams of flour but I am going to add different flours
4. Lowering Your Hydration Level:
Most recipes will get you a hydration level around 80 percent, which is great for a super airy loaf, but sourdough is so tricky to work with since its a wet dough, not like pizza dough! I generally recommend that experienced or beginners bakers start closer to a 70 - 75 percent hydration so they don't run into a “sticky situation" later in the process and lose all your confidence. You bread bakers out there know what I'm talking about!
Now that we have our flour weighed out, I'm going to zero out my scale and add my 750 grams of water, to get to 78 percent hydration.

5. When To Use Your Starter:
The starter will generally take 3 - 6 hours to be fully active but no recipe is going to tell you when your starter is ready, this is live fermentation! You have to use your intuition. You want to pull it when its at its peak. When a sourdough starter is at its peak it should have a rounded top and double in size. If it collapses it means it has run out of food and it has been over proofed. Check out the time-lapse of my sourdough starter here!
Another technique is the float test. Generally, I don’t do this but doing a float test will give you more security when know when you can use your starter.
Add 150 grams of starter and 20 grams salt but just make sure the salt is fine so that it dissolves into the dough. Then stretch and fold in your starter and salt until everything is combined. The dough will not be perfectly smooth since the salt has not dissolved. Your goal here is just to incorporate everything.

6. Never Knead Your Sourdough Shake, Pull, & Fold Instead:
Alright so we are officially active, fermentation begins once that starter hits more food! Food being this fresh flour and water you now have supplies it with. This was when we start the stretch and fold process. Which brings us to tip 6. Never knead your dough, were not making pizza dough, we want an airy crumb and by stretching and folding your dough, you are aligning the gluten strands without removing gas built up from the fermentation.
Extensibility - you can stretch the dough without it breaking vs. Elasticity - stretching the dough and it will come back
You will be doing the shake, pull, and fold method every 30 minutes for 2 hours.

7. How Do You Know When To Finish Working The Dough?
Once every half hour you will give your dough a stretch and fold. Every single time the texture of your dough will change. It will start to look a little bit more shiny, a little smoother, and little more supple as you continue to stretch and fold. If you look at the outside edges of the dough in your bowl, every time the shape should get a little more round because your continuing to align the gluten strands and build a stronger gluten structure.
By the 4th stretch and fold your dough should be looking a hell of a lot nicer and should feel much better than when you started the process.
8. Let The Dough Proof On Your Schedule.
Even though bread making is a long process, there's ways to actually slow down the fermentation to work around your schedule.
How can a slower fermentation be better for me? Well there’s two specific times where you can slow down the fermentation to work within your schedule.
Once you dough is finished stretching and folding, it’s looking great! Now we have to let it bulk rise at this point. That could take place at room temp for 2-5 hours, but since im making this at night, I don't have that time, so I'm gonna throw this puppy in the fridge and slow down the femrnation so it will be ready to go in the morning. If you do have time to bulk rise at room temp then you can just go for it and let it gain some volume and expand for a few hours.
Well, when you slow down the fermenting process, the bread rises slower because yeast isn’t as active in cold temps but the bacteria in the dough is still active so you can get more flavor!
9. Don't Use Too Much Flour! Bench Scrapers Are Friends.
Once your dough has finished the bulk rising process, you will see some nice bubbles forms from the fermentation process, you should also smell some of that dough fermentation in action. Now we're gonna pre shape our loaves and let them bench rest which takes us to tip 9, dealing with a wet dough! It is one of the trickiest parts about making sourdough bread, most people aren't used to a high hydrated dough so getting right texture of stickiness to dryness of your dough is key. This blance is huge and takes a while to get right, I stilll fuck it up all the time.
A lot of people freak out and start adding too much flour at this stage, but if its too dry, then it won't stick together to shape it and of course if it’s too sticky, well then your gonna have a sticky situation which isn't fun.
Dust your work surface with a little bit of flour. It will be a little hard to handle since it is a wet dough. Your best friend in this process will be your bench scraper, which wont stick to the dough so you don't have to add too much flour, think of it like a non stick hand…
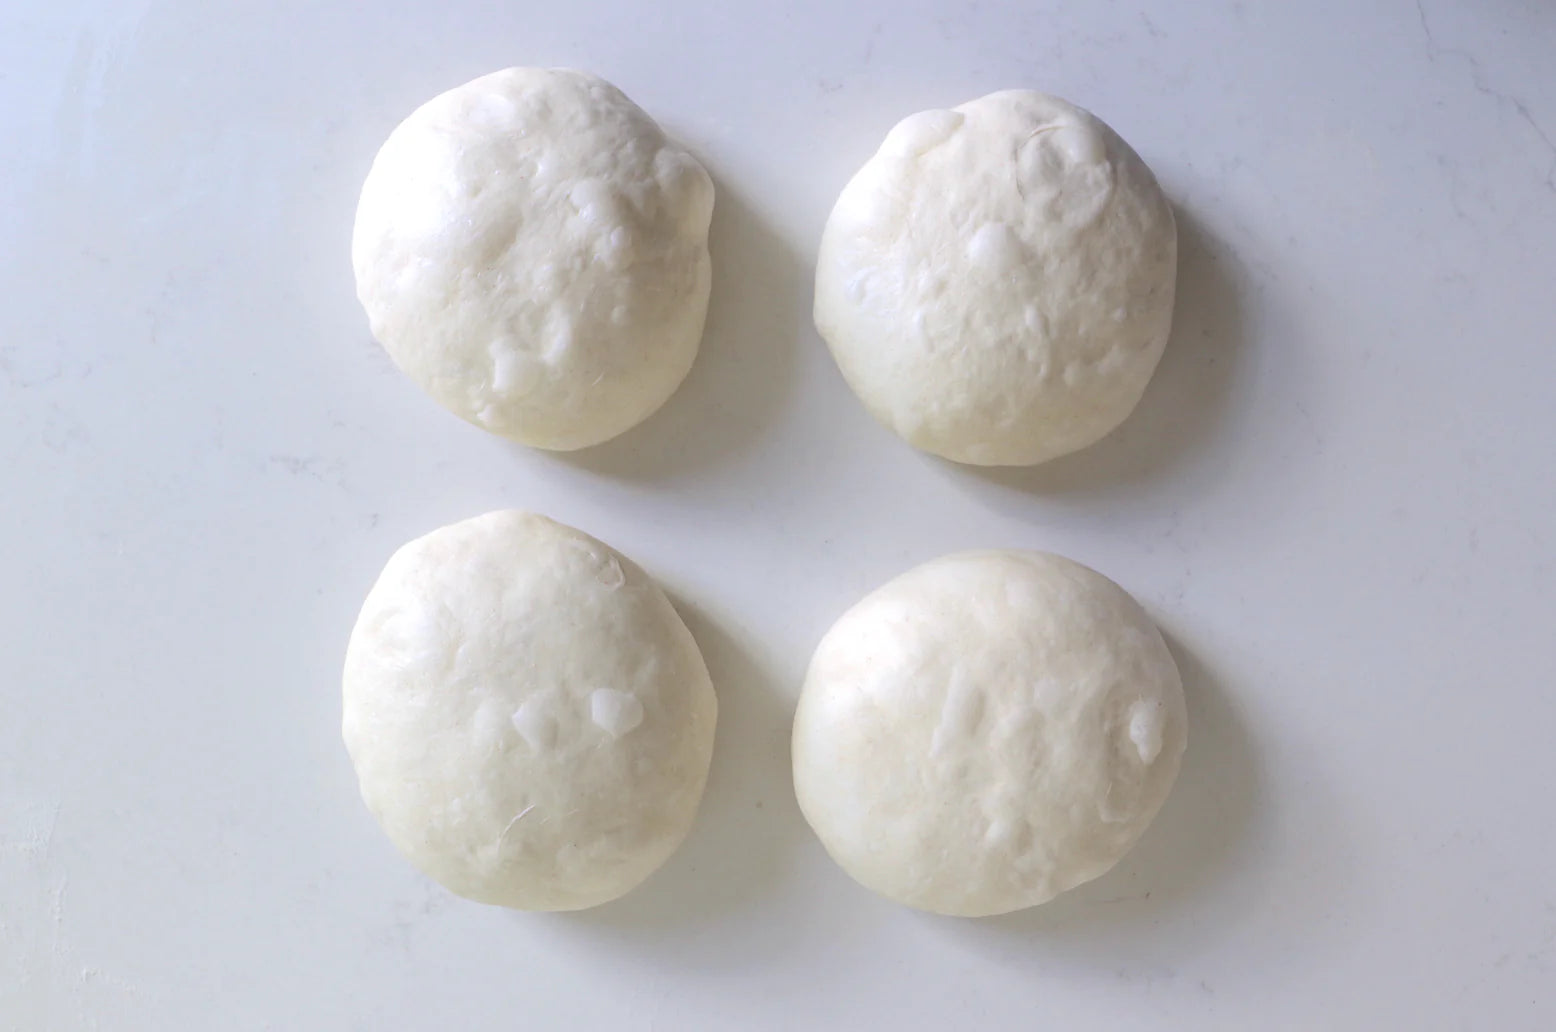
Cut your dough in half and give it a quick preshape. Let the two dough balls sit on your floured surface for 30 minutes. In this step you really just want to get it into a round ball and then let the gluten relax again so that when you give it the final preshape it's easier to get it into a cleaner shape.
However, if after 20 minutes they flatten out/sunk that means that they didn't get the proper gluten development.

10. Generously Flour Your Banneton
Your dough is ready to be placed into a banneton so flour the banneton generously. You can overcompensate the flour in this step because you can always dust it off later and you don't want your dough to stick to the banneton. If you’d like, you can use a duster to help give you an even coating of flour.
At this point if you want to have some seeds or grains on top place them onto your work surface and roll the dough onto the plate filled with your seeds. If your dough isn't sticky enough then the seeds/grains won't stick so in this case you should mist a little bit of water on top of the dough to create some tackiness. If you don't feel like adding in any seeds/grains you are ready to let your dough rest for the last time!

11. There's No Perfect Way To Shape Your Dough
Once the 30 minutes are up you can now beginning to shape your dough for the last time. Lightly flour your surface one more time and lightly tap it into a square. Grab the two closest corners near you and fold one corner on top of the other corner. Repeat this until you get to the other side of the dough.
Then come back to the side of the dough nearest you and start to roll the dough up into a wide log. The dough should already be seam side down so let it rest for about 15 seconds just so that the seam seals up. If it helps to watch, you can see me do this here.
It’s good to know that there is no perfect way to shape your bread. Just because this is how I shape my bread doesn't mean you can find your own method that works for you. I've been in bakeries and have seen so many different techniques. Your main objective of shaping is to roll a tight loaf with some nice surface tension without taking the air out of it but it will still has a good surface tension!
Place your loaf into the banneton and give it another sprinkling of flour. The bread will rise into the side of the proofing basket so you want to make sure that you flour the edges of the bread as well. Finally, let your dough rest in a cool shady spot for 3 -5 hours or you can let it proof overnight if you’d like. Either way, 45 minutes before you are ready to bake preheat your oven and your dutch pan can anywhere from 500 to 550 degrees.

12. The No Fail Poke Test
Once your bread has rested and you think its ready but you just aren't sure yet, you can always give it the poke test! The poke test is the best way to tell if your bread is ready to go in the oven or not and it's super simple method. Once your bread has rested, give it a poke about 1 inch deep. If it springs back then it needs more time. If it doesn't bounce back it means that it is over proofed but if you give it a poke and it bounces back but leaves a dent then it’s perfect. You are now one step closer to eating your delicious sourdough loaf!

13. Baking Trays Prevent Burnt Bottoms
Once your bread has passed the poke test, grab a parchment paper and place it on of the banneton and flip the bread out being careful to not knock too much air out in the process. Brush off the excess flour so that it doesn't burn and give it a slash with a lame. Now, carefully place your bread into the dutch oven being aware of where your hands are so that you don't burn yourself. Let the loaf bake for 20 minutes.
Once the 20 minutes are up continue baking the dough for another 20 minutes except drop the temperature to 450 degrees fahrenheit and place a baking tray under the dutch oven. This is to prevent any burning on the bottom while allowing the crust to caramelize and develop even more flavor!

14. Go Off Color Not Time
Even though my recipe say 20 minutes it's important to know that it's not always about time. Look at the color of the bread, you are looking for a charred dark brown crust. So after 20 minutes give your bread a look is it too pale? Do you need more time? Is it just right? If it's too blonde add another 15 minutes and check again once the timer goes off. Check out how I like the color of my bread here.
Bonus Tip! Curing Your Bread
Here’s an awesome bonus tip for ya! Instead of taking out the bread at the end for 20 minutes, leave it in, crack the oven open just a bit, and this will dry out the crust. This step adds a whole new depth of flavor to your sourdough!
15. It’s Okay If You Fail Miserably
If you failed miserably don't be too hard on yourself. Sourdough is a hard artform to get right especially when every step needs to be perfect. Keep trying and I promise you’ll get it right and it will all be worth it when that beautiful sourdough loaf comes out of the oven!
TOP ARTICLES

By Alex Chung
Senior Food Writer at Pro Home Cooks
Published
Sourdough Baking School
Master the art of sourdough bread baking in the most comprehensive baking class on the internet. This class features over three hours of baking content to help you start your sourdough journey.
See MoreMore Articles
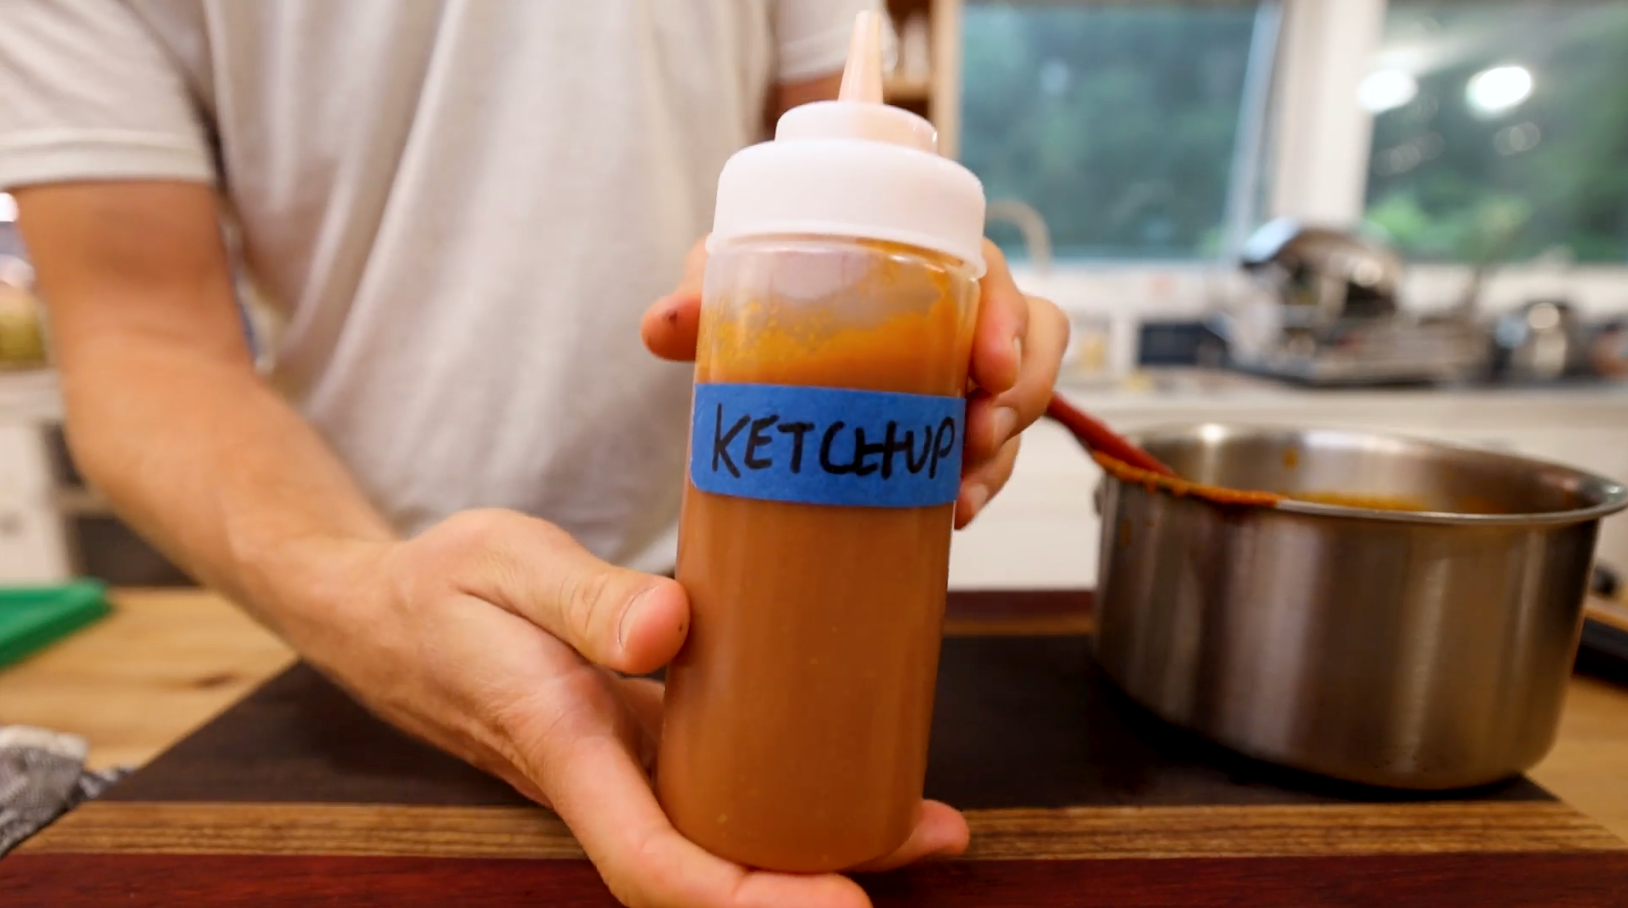
12 Ingredients
Homemade Ketchup
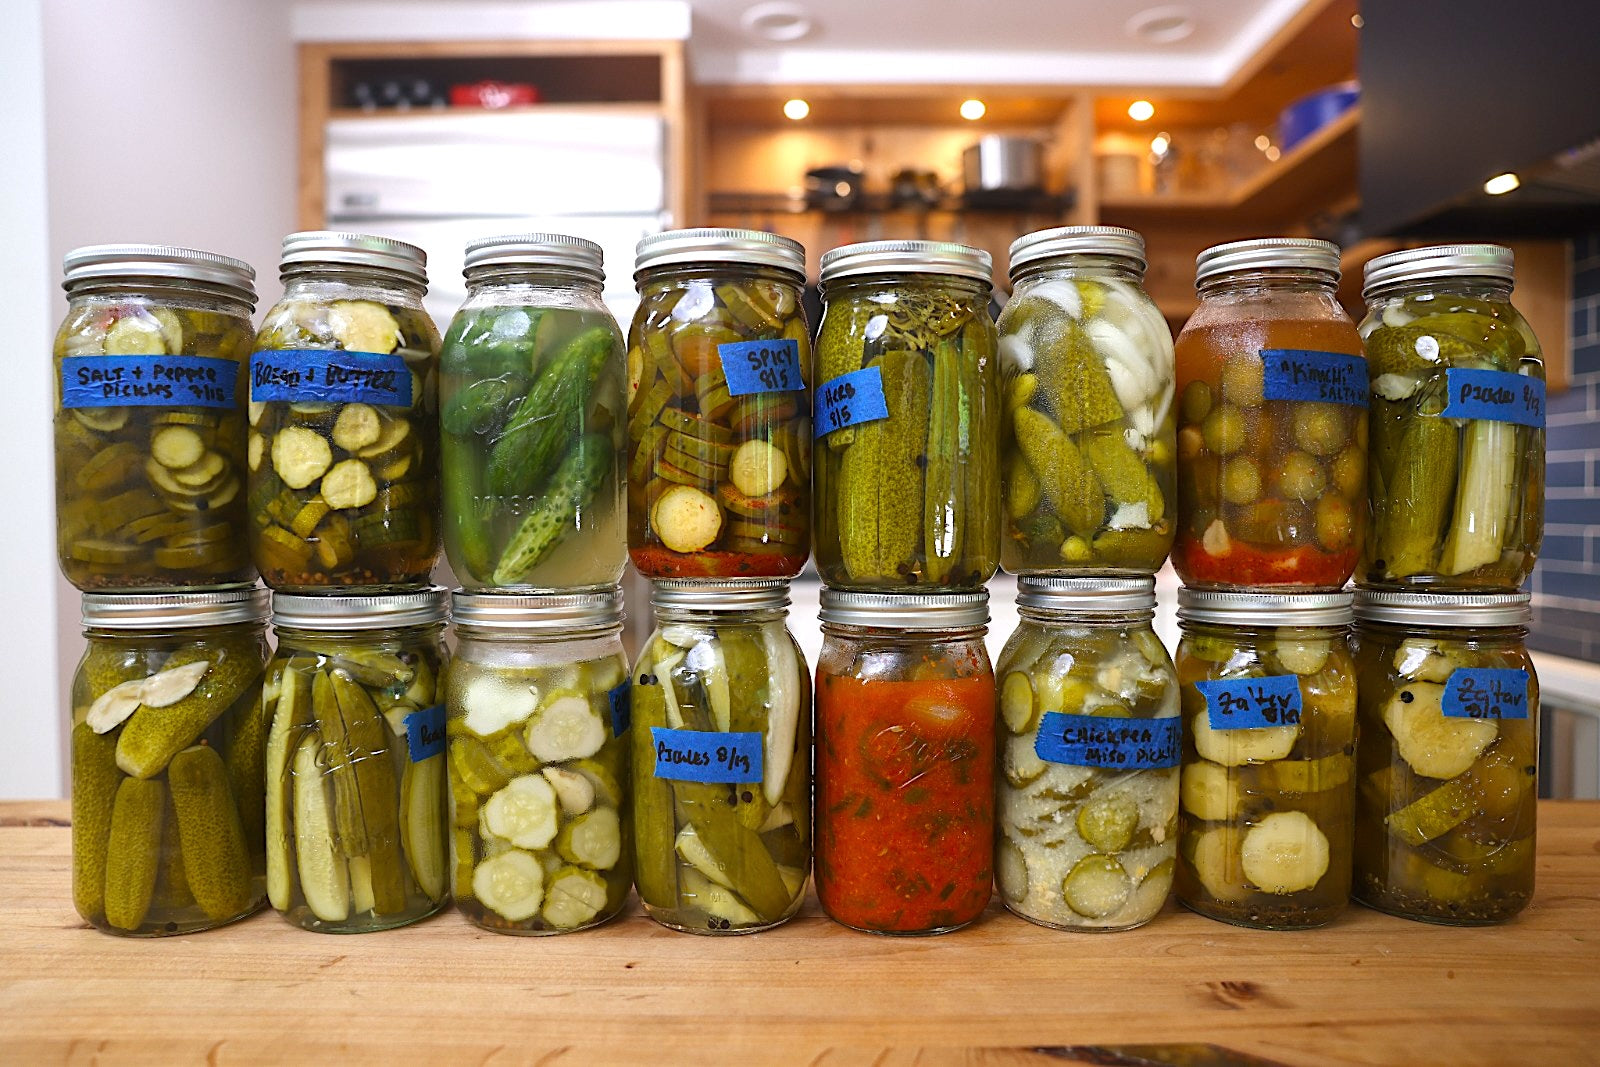
12 Ingredients
Beginners Guide To Pickling Cucumbers!
12 Ingredients
Total Time - 24
Overnight Pizza Dough

12 Ingredients
Thai Style Vegetable Stir Fry

12 Ingredients
Lamb Barbacoa
12 Ingredients
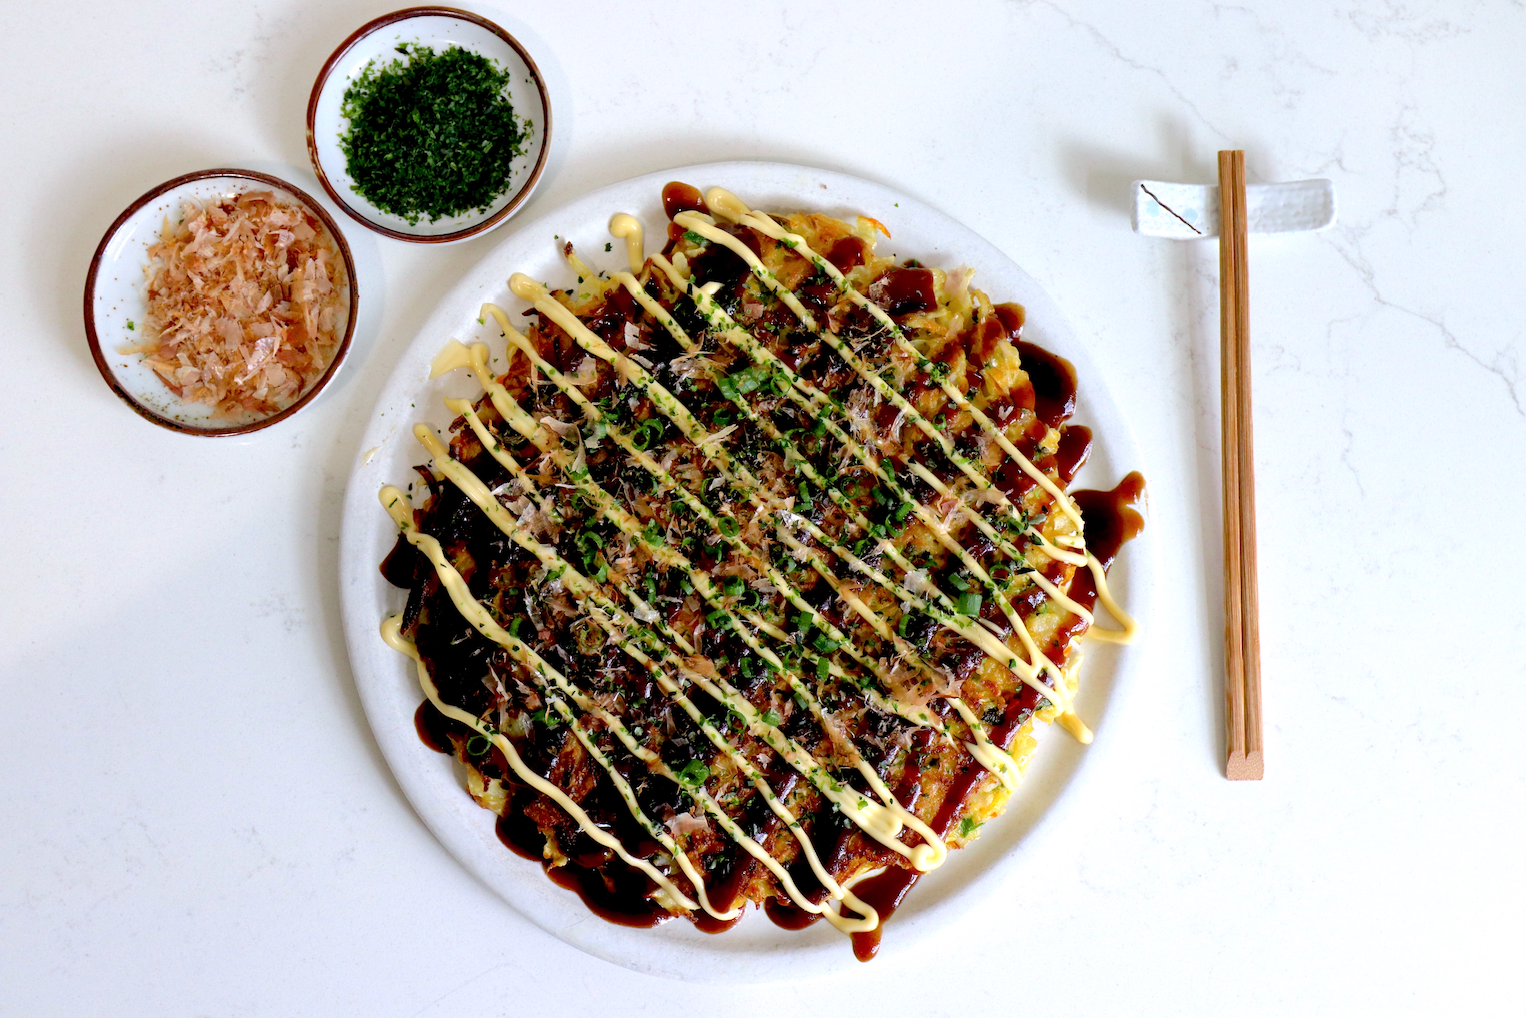
Japanese Cabbage Pancake - Okonomiyaki

12 Ingredients