15 Common Mistakes When Making Pizza At Home
By Alex Chung
Senior Food Writer at Pro Home Cooks
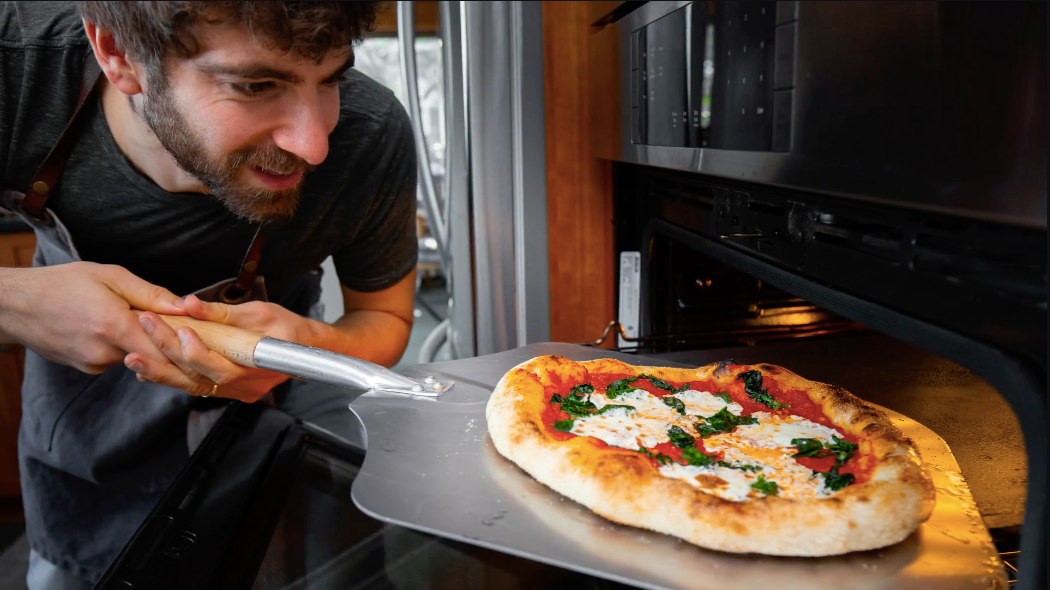
I started cooking seriously about 10 years ago and ever since then I have always tried to nail making pizza at home down. However, making pizza with a home oven isn’t as easy as it seems. Home ovens just don’t get as high as a classic brick or wood fired ovens but that doesn’t stop a pro home cook. After all the years of making homemade pizza, I found these were the 15 common mistakes that a normal home cook would make. Mistakes like using too much yeast, too much flour, and not enough seasoning on your toppings. I also came up with great tips like not being afraid to crank that oven up as high as it could possibly go and using something heavy to absorb all that heat.Pizza is a quest and I’m always looking to up my game by tinkering things here and there but I’m pretty excited with how these pies came out! Click here to see my reaction!
Pizza Dough
Ingredients:
- 1 ½ teaspoons of yeast
- 2 cups of water
- 1 teaspoon of honey
- 2 cups of all purpose flour
- 3 cups of 00 flour
- 2 teaspoons of salt
- 2 tablespoons of olive oil
- Semolina, used to roll out your pizza dough
Pizza Sauce
Ingredients:
- 1 can of crushed tomatoes
- Couple cloves of garlic
- 2 tablespoons of olive oil
- Sprinkling of chili flakes (optional)
Toppings I used
Ingredients:
- Mushrooms cooked in butter
- Spinach sautéed in garlic and olive oil
- Fresh mozzarella cheese
- Basil
- Spicy garlic oil
- Salt
Tip 1 : Don’t overdo the yeast
Slow fermentation equals more flavor so don’t over do it on the yeast. You want the yeast to take its time in developing flavor so using a small amount of yeast is the way to go. Add 1½ teaspoons of rapid rise instant yeast instead of the whole package so you can slow down the fermentation period and develop more flavor in your dough. It’ll take longer but it will be worth it.
Along with the yeast, add in 2 cups of water and 1 teaspoon of honey to get the yeast activated. Give it 15 – 30 minutes to bloom and smell yeasty.

Tip 2: No dense pizza dough!
Lots of pizza dough recipes have a low hydration which means a dense dough… and we don’t want that. We want to have a light and fluffy pizza so we are going to start with less flour and add more if we need it.
Add 2 tablespoons olive oil, 2 teaspoons salt, 2 cups of all purpose flour and 2 cups of 00 flour to start. Give it a mix and you will notice that it is a little wet. So, add another 1 cup of flour. You will still be left with a wet sticky dough but let it rest for about 10 – 15 minutes before giving it a good knead for 4 – 5 minutes.

Tip 3: Give your dough some space.
After the kneading, give it time to rest so that the gluten can rest and absorb some water. We want the dough to be nice and smooth and supple without adding more flour so its important to let the dough relax on your counter for 10 minutes. The last thing you want to do is add a ton of flour just because it’s sticking. Instead, let it rest and then give it 4 -5 more minutes of kneading.
Once you are finished kneading the second time, let the dough double in size. It should take 1 – 3 hours depending on your environment.

Tip 4: Never buy pre-made pizza sauce
Instead of buying premade sauce take a can of tomatoes and enhance it to create your own pizza sauce! Start by adding a few cloves of garlic with some olive oil in a pan just to fry it up a bit. Then sprinkle in some chili flakes to slowly infuse into the oil. Add some vine ripened crushed tomatoes to the pot. Then with your empty can, fill it halfway up with water to the and add it to your pot. This is so the flavors have time to infuse without making your sauce too thick. Cook on low for 1 – 2 hours until you get the thickness and consistency that you want.

Tip 5: Preshape your pizza dough
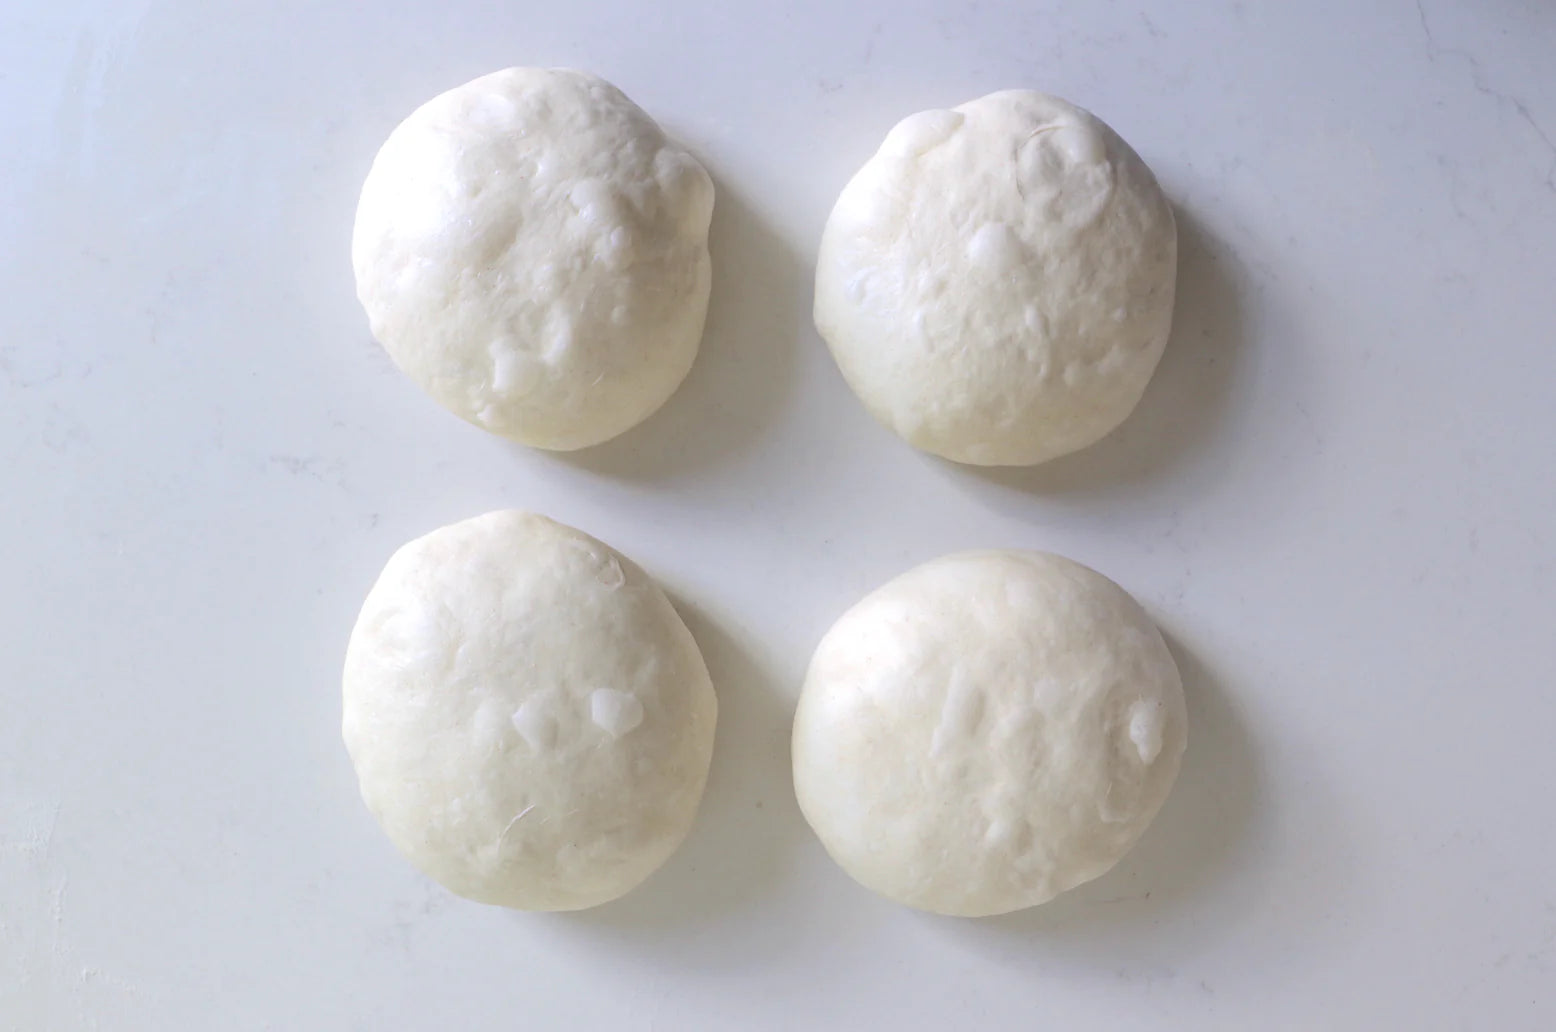
Pizzeria always have their dough balls pre shaped so when making their classic circle pies it is done fast, efficiently, and well… finished in a circle. Your dough will make about 4 personal pizzas so cut them into four triangles and then shape into a circle. This allows you to easily create the classic pizza shape.
Click here to see how I shaped my dough balls.
Once your balls have been made, sprinkle some semolina on the sheet pan that you will be proofing them in so they don’t stick to the pan. Give them some space since they will rise and top them off with some olive oil so that they don’t dry out on the top.

Tip 6: Long Proofing = Extra Flavor
Proof in the fridge for 24 hours to slow down the yeast activity while still getting a lot of good bacteria. Doing this will leave you with better color, flavor, and more fermentation bubbles on your finished pizza.

Tip 7: Give your toppings some love.
Just like letting your pizza dough sit in the fridge to develop flavor, you want all your other ingredients to do the same as well. You don’t want to have delicious tasting dough and bland toppings so start by cooking some chopped mushrooms in a little bit of butter and salt until they get some color. Take them out and set aside.
Then add some olive oil and garlic to the same pan and cook your spinach down. No matter what toppings you are going to use, take the time to amplify the flavors of your toppings.

Tip 8: How does your oven work?
You might have a gas or electric oven but the most important part is where the heating element is. Look for where your heating element is because that is where you can maximize your oven heat to get the crispiest crust. Make note of the hottest place in your oven because that is where you will place your pizza and your pizza stone.

Tip 9: Cranking your oven up.
The longer the pizza is in the oven the more moisture you will lose and will start to dry out. Your oven won’t get as high as those in the pizza shop so crank yours up to as high as it goes. This way you will be able to get great color without drying out your pizza crust.
To help your pizza along, place a cast iron or a ceramic right where the heating element in your oven is. Anything that absorbs a lot of heat and is really heavy works well. Something like a pizza stone, cast iron, or a ceramic acts as a great brick oven thermal mass absorber. It will absorb all the heat in the oven and then transfer all that heat into the pizza once it goes in the oven. This will in turn create a crispy bottom. Preheat your oven to the highest temperature that it goes to for about 1 hour. Mine goes to 550 so check what temperature your oven goes to and don’t be afraid to turn it all the way up.
Tip 10: Semolina flour for extra flavor.
You will need to roll your pizza dough out onto something so using oil or flour works the best. I like to use some semolina flour since it adds more flavor into the bottom of the dough. Sprinkle some semolina flour onto your work surface before you start to shape your dough into a pizza.

Tip 11: Retain fluffy crust integrity
Don’t just use a rolling pin to roll out your dough. Use your fingers to create the crust and then work the dough from the inside. Once you have created the crust, let gravity take over and then rotate the pizza in your hands letting gravity stretch the dough for you. Once you have the right shape, place your dough onto your peel that has been sprinkled with some semolina flour.

Tip 12: Keep it simple
Don’t add too many toppings to your dough. You really want to keep it simple and have the right amount of topping to crust ratio. Plus, you don’t want all your topping slipping off so start off with a little bit of tomato sauce. Then a touch of spinach, small sprinkling of mushrooms, fresh mozzarella cheese, and a little bit of basil just to finish it off. You want to be able to taste all your ingredients so add enough just to get a bit of everything in every bite.

Tip 13: Take advantage of the broiler.
The steel/ceramic/cast iron will give you a nice crispy bottom crust but you also want the top to be charred as well. So once you put the pizza in the oven, turn your broiler to high to get the color on the top as well as the bottom. Carefully place your pizza from the peel to the pizza steel and cook for about 10 – 13 minutes or until you have some nice color on your pizza.

Tip 14: Next level flavor
Once your pizza is done, take it out of the oven and top it with some flavored oil! I created mine with chopped garlic, chili flakes, oregano, and oil. The longer that you leave it to marinate the better it will taste. I made mine the night before so it had plenty of flavor. Drizzle some of this flavor bomb oil on top of the pizza and sprinkle some salt to make sure all those flavors come alive.
Tip 15: Accepting the learning curve!
Pizza is all about the quest. Your first pizza may not come out how you wanted but keep trying. Feed your family and friends, ask for feedback, and continue making more homemade pizza. Soon enough you will eventually become a pro home cook at making delicious pizza for your loved ones.
TOP ARTICLES

Sourdough Baking School
Master the art of sourdough bread baking in the most comprehensive baking class on the internet. This class features over three hours of baking content to help you start your sourdough journey.
See More

