Here's What Happens When You Dry Brine Steak
By Alex C
Senior Food Writer at Pro Home Cooks
Dry brining is just a fancy term for a very simple process of generously salting a piece of protein then resting it in a cool environment with circulating air (aka your fridge) before cooking it. It’s so simple that you could have even dry brined something on accident which is exactly what happened to me. A couple weeks ago, I defrosted a chicken breast I thought I was going to make for dinner but I ended up going out with friends. I wasn't sure how I wanted to season it and I didn't want it to go bad so I salted it and left it uncovered in my fridge. Four days later I found it while rummaging through my fridge and seared it. I have never had a homemade chicken breast taste so tender and flavorful in my life. So from this point on, I started dry brining every protein I bought. Steaks, tofu, chicken, fish, ribs… you name it, I dry brined it.

One of my favorite things to dry brine is a ribeye steak so I am going to sprinkle kosher salt across the surface of a 1-1/2 inch thick ribeye and take you through a 4 day dry brine to show you what happens to a piece of steak as you leave it exposed to the air and salt.

Two things happen when brining: osmosis and diffusion. Osmosis happens first and it is when water from a lower solute concentration (not salty side) moves to a higher solute concentration (salty side). In the case of this ribeye, five minutes after it was salted a layer of water appeared across the surface. Moisture from inside the steak moved to the outside where all the salt was sprinkled on.

Another 10 minutes later, the steaks’ surface area was dry. This process is called diffusion. It is the movement of salt from a salty side to a lesser salty side in order to evenly distribute itself. The salt that was sprinkled over the surface of the steak dissolved due to the moisture that came out during osmosis. It then created a heavily concentrated brine and slowly moved back in to evenly distribute the salt throughout the steak which is why the steaks surface was dry 15 minutes later. Salt is the only seasoning that can season, penetrate and tenderize protein.

Osmosis and diffusion will happen whether you decide to do a wet or dry brine. So now, this is where the “dry” part of the process comes in. By leaving the steak uncovered on a wire rack, it allows the cold air from the fridge to circulate all around the steak, accelerating the drying process. Allowing the moisture to escape, enhances and concentrates the natural flavors of the steak. It will taste beefier and earthier in flavor. However, do not leave your steak to brine for too long! Remember, we are not aging but dry brining. Since there is salt, the steak will dry and become closer to jerky if left for too long. I learned this the hard way.

I like to dry brine my 1-½ inch steak for about 3 days. In those days, you see the steak go from a bright red to a deep red. I find this is the perfect spot where my steak is perfectly seasoned, a decent amount of the moisture has evaporated so the flavor will be more pronounced and the texture of the steak is still tender. When touched you can tell the surface area is dry but the inside is still tender. The steak's surface area is dry and dehydrated just enough making it extremely easy to caramelize and get an extraordinary sear. Below is a picture of Day 2, when the drying process just started to occur.

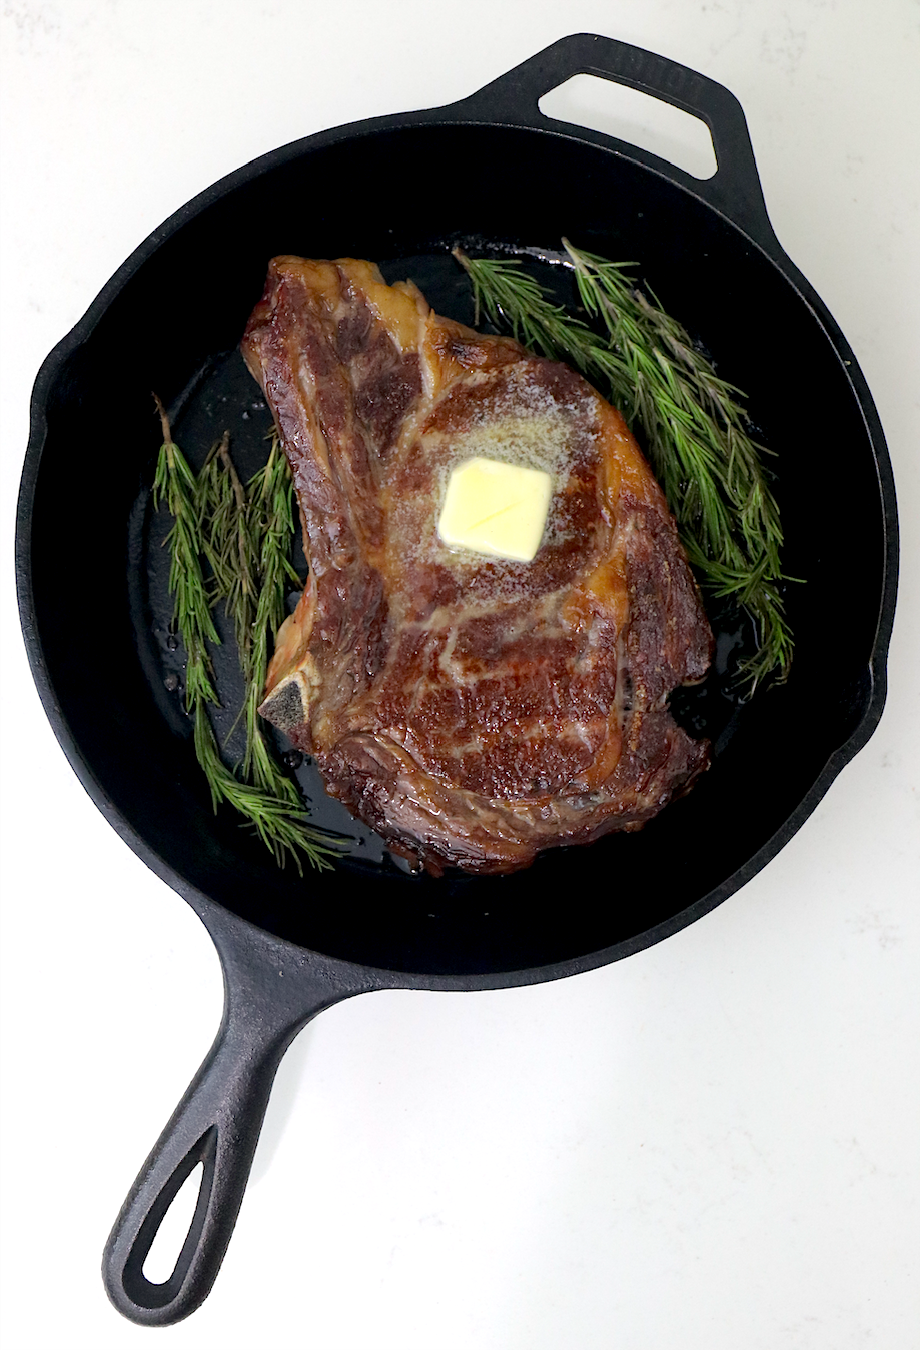
Cast Iron Seared Dry Brined Ribeye Steak
Ingredients:
- 2 tablespoons of neutral oil (with a high smoking point)
- 1- two to three day dry brined steak (about 1-½ inches thick)
- 1 tablespoon of butter
- A couple sprigs of rosemary
Instructions:
Instructions:
- Take your 2-3 day dry brined steak out from the fridge and let it come to room temperature, about 30 minutes. Do NOT rinse it!
- Next, heat a 10 inch cast iron skillet with two tablespoons of oil until it's smoking hot.
- Next, place your steak down and sear one side for about one minute, pressing down gently with a spatula to adhere the steak to the pan.
- After one minute, flip the steak to the other side. After 30 seconds, add two tablespoons of butter and a sprig of rosemary and start basting for 30 seconds.
- Take the steak out of the pan, and let cool for 5 minutes. Slice and enjoy while it's hot!
** Please note that the cook time was 1 minute per side for a steak that is 1-1/2 inches thick. Adjust your cooking time depending on how thick your steak is and how you like it. **
TOP ARTICLES

By Alex C
Senior Food Writer at Pro Home Cooks
Published
Sourdough Baking School
Master the art of sourdough bread baking in the most comprehensive baking class on the internet. This class features over three hours of baking content to help you start your sourdough journey.
See MoreMore Articles
12 Ingredients
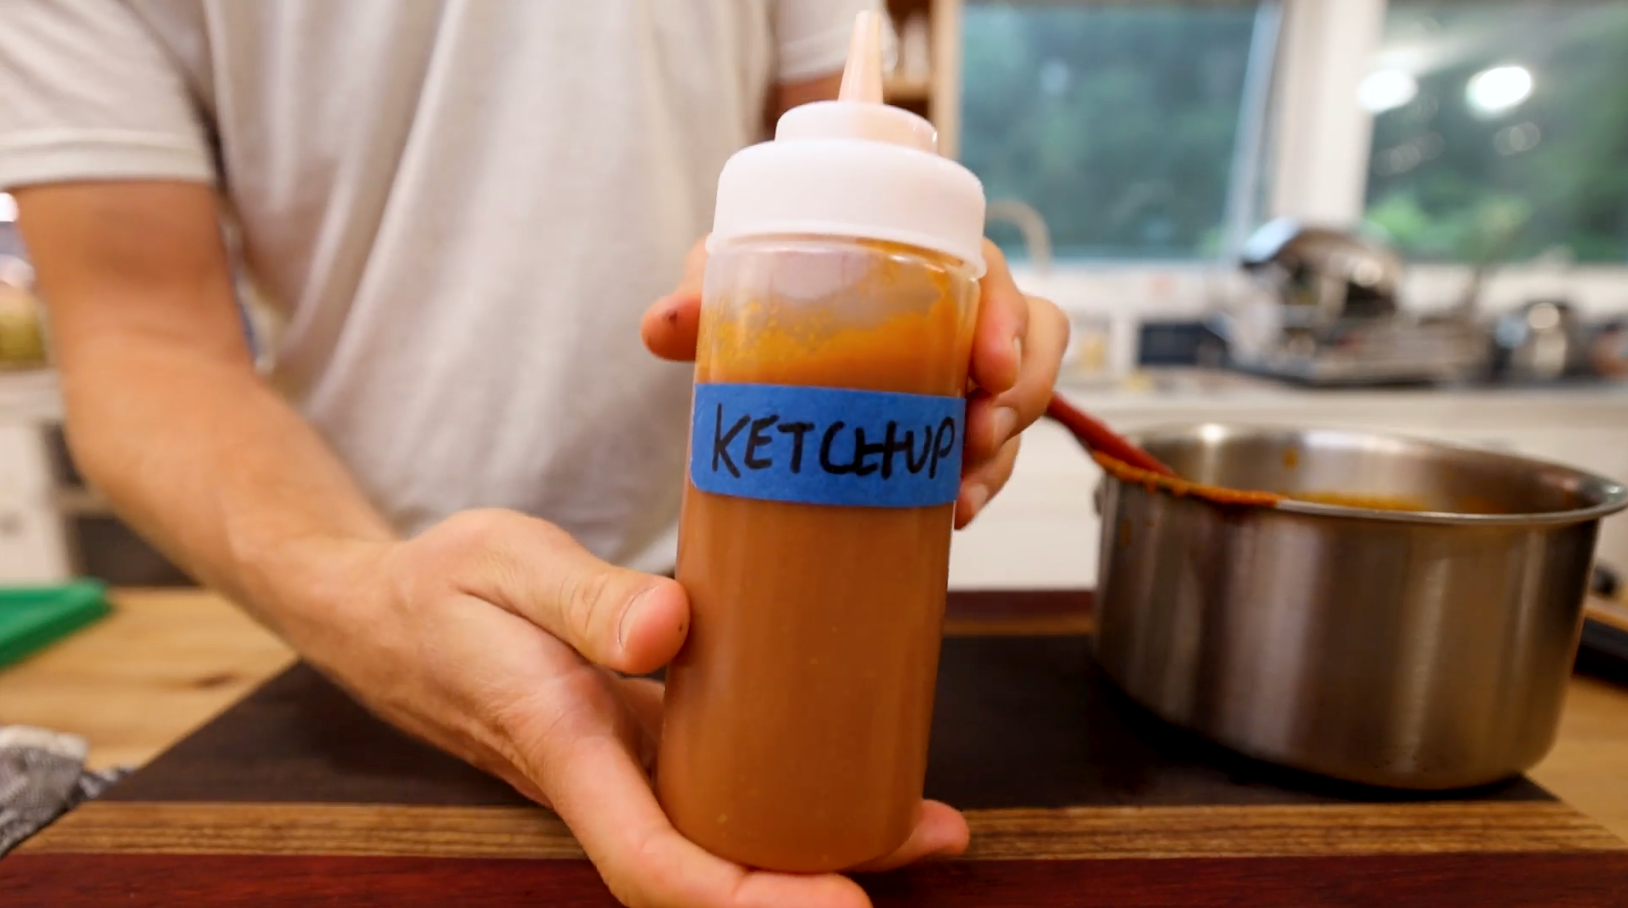
Homemade Ketchup
12 Ingredients
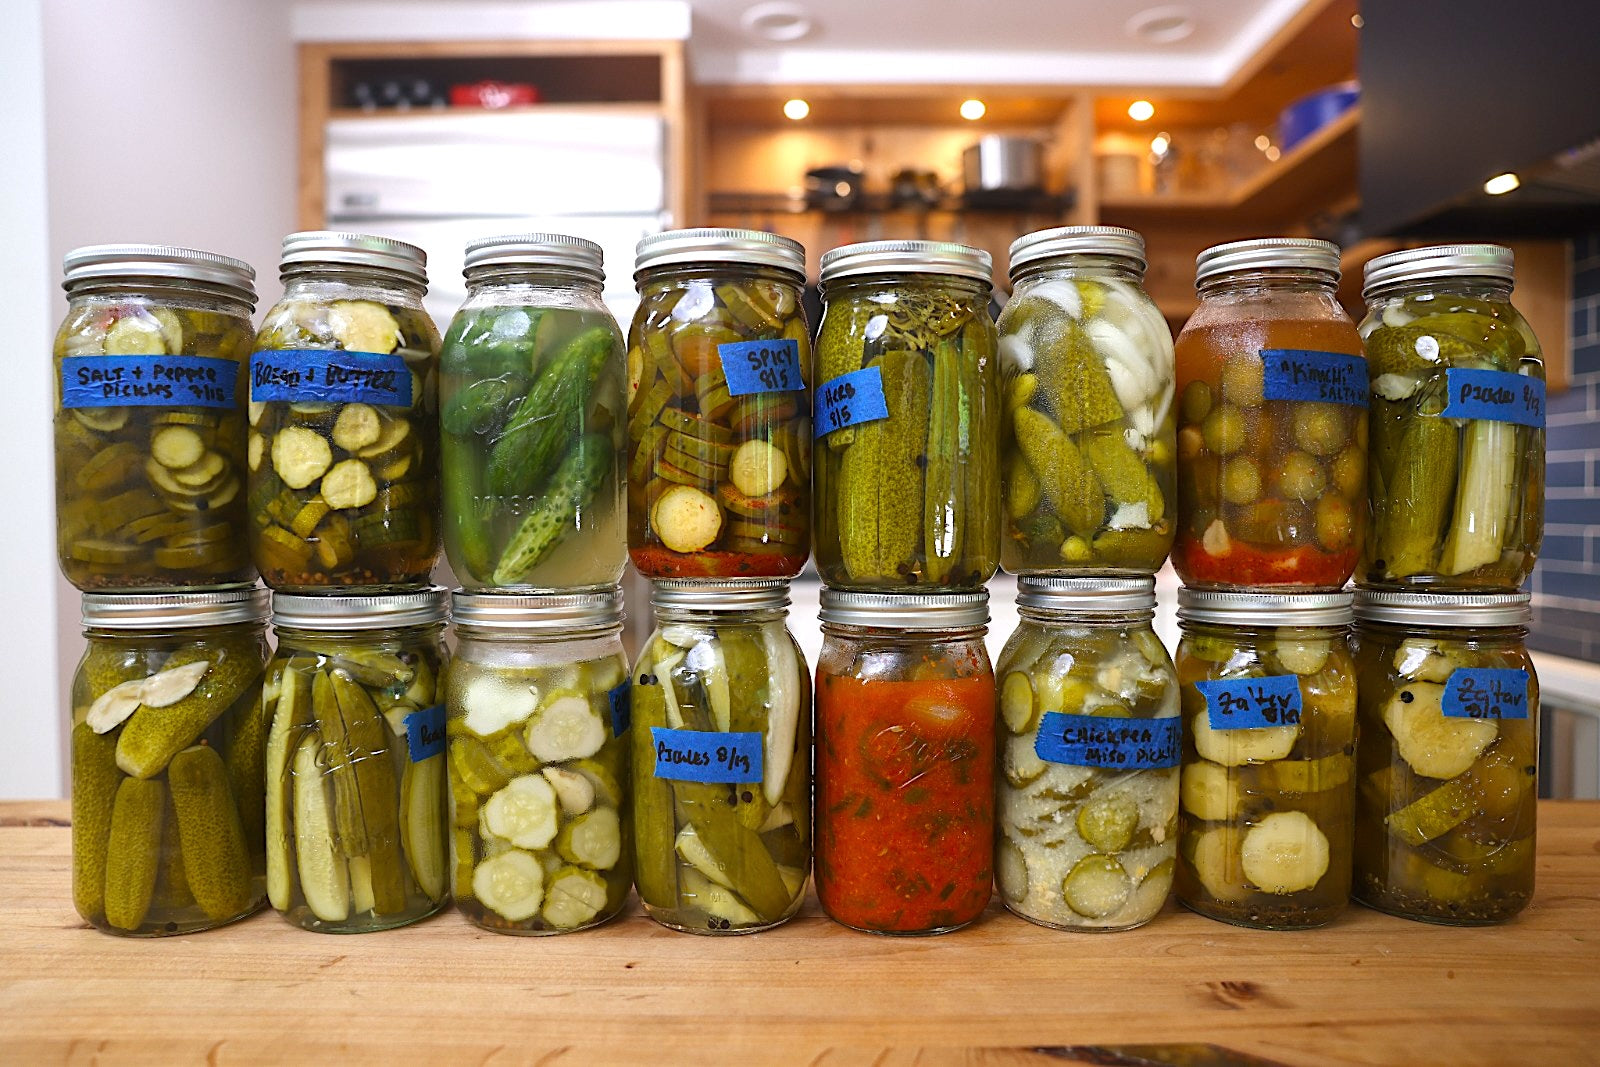
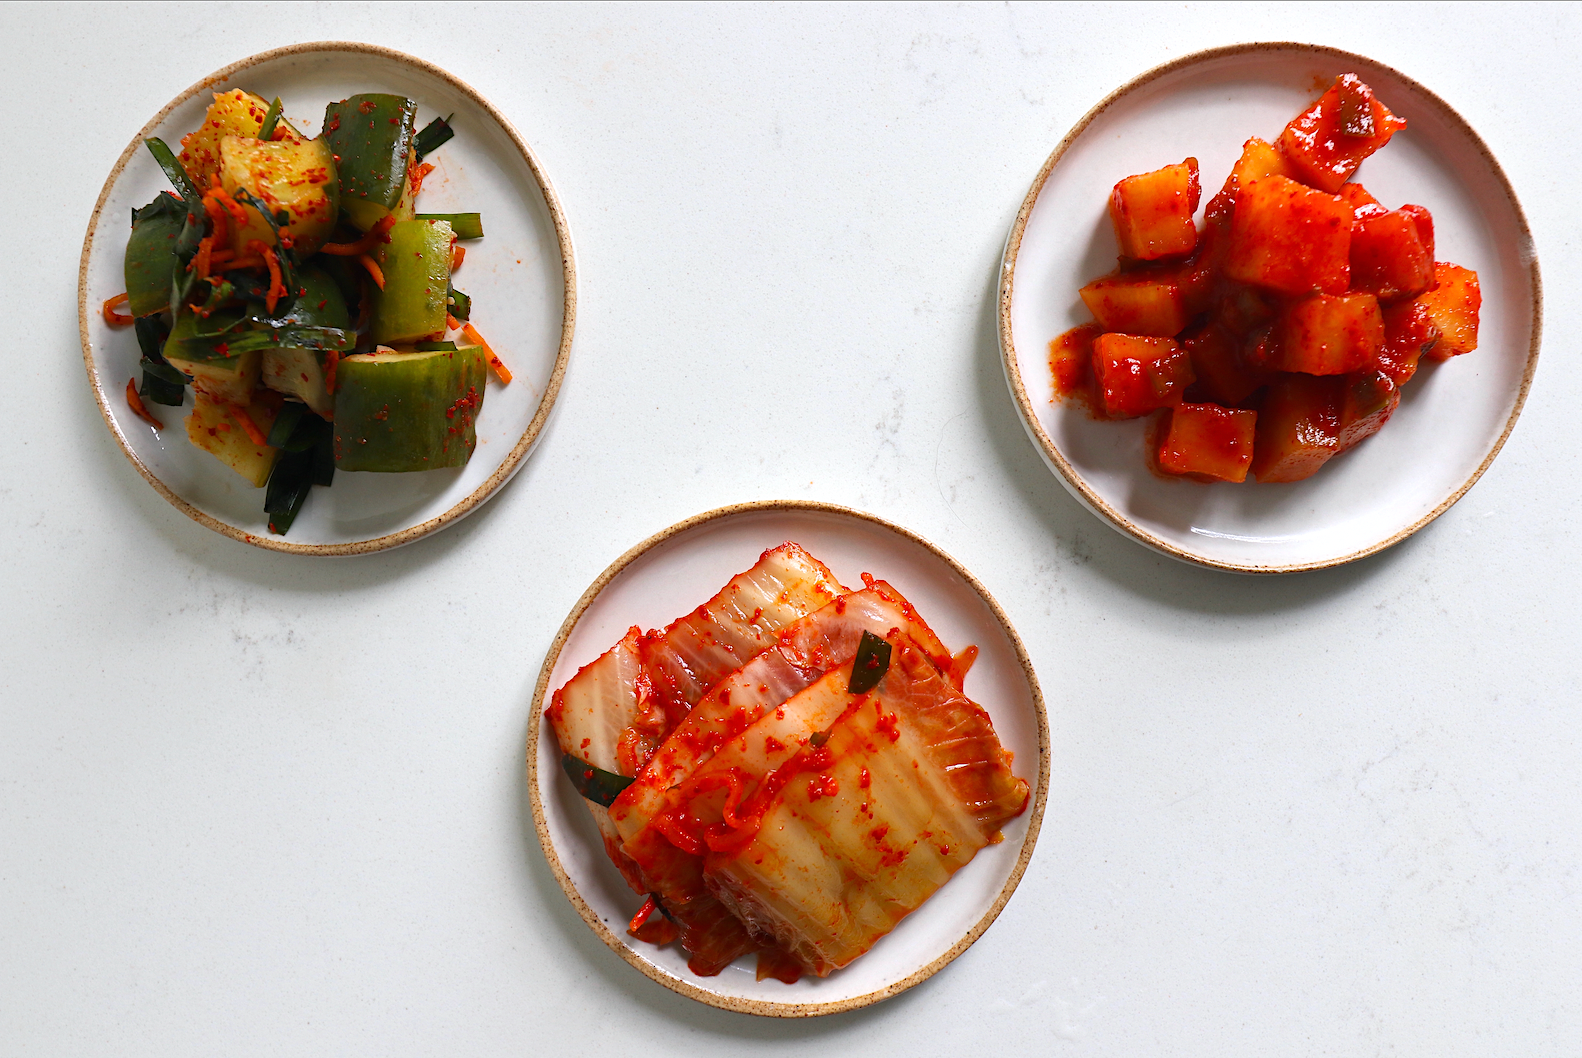
Beginners Guide To Pickling Cucumbers!
12 Ingredients
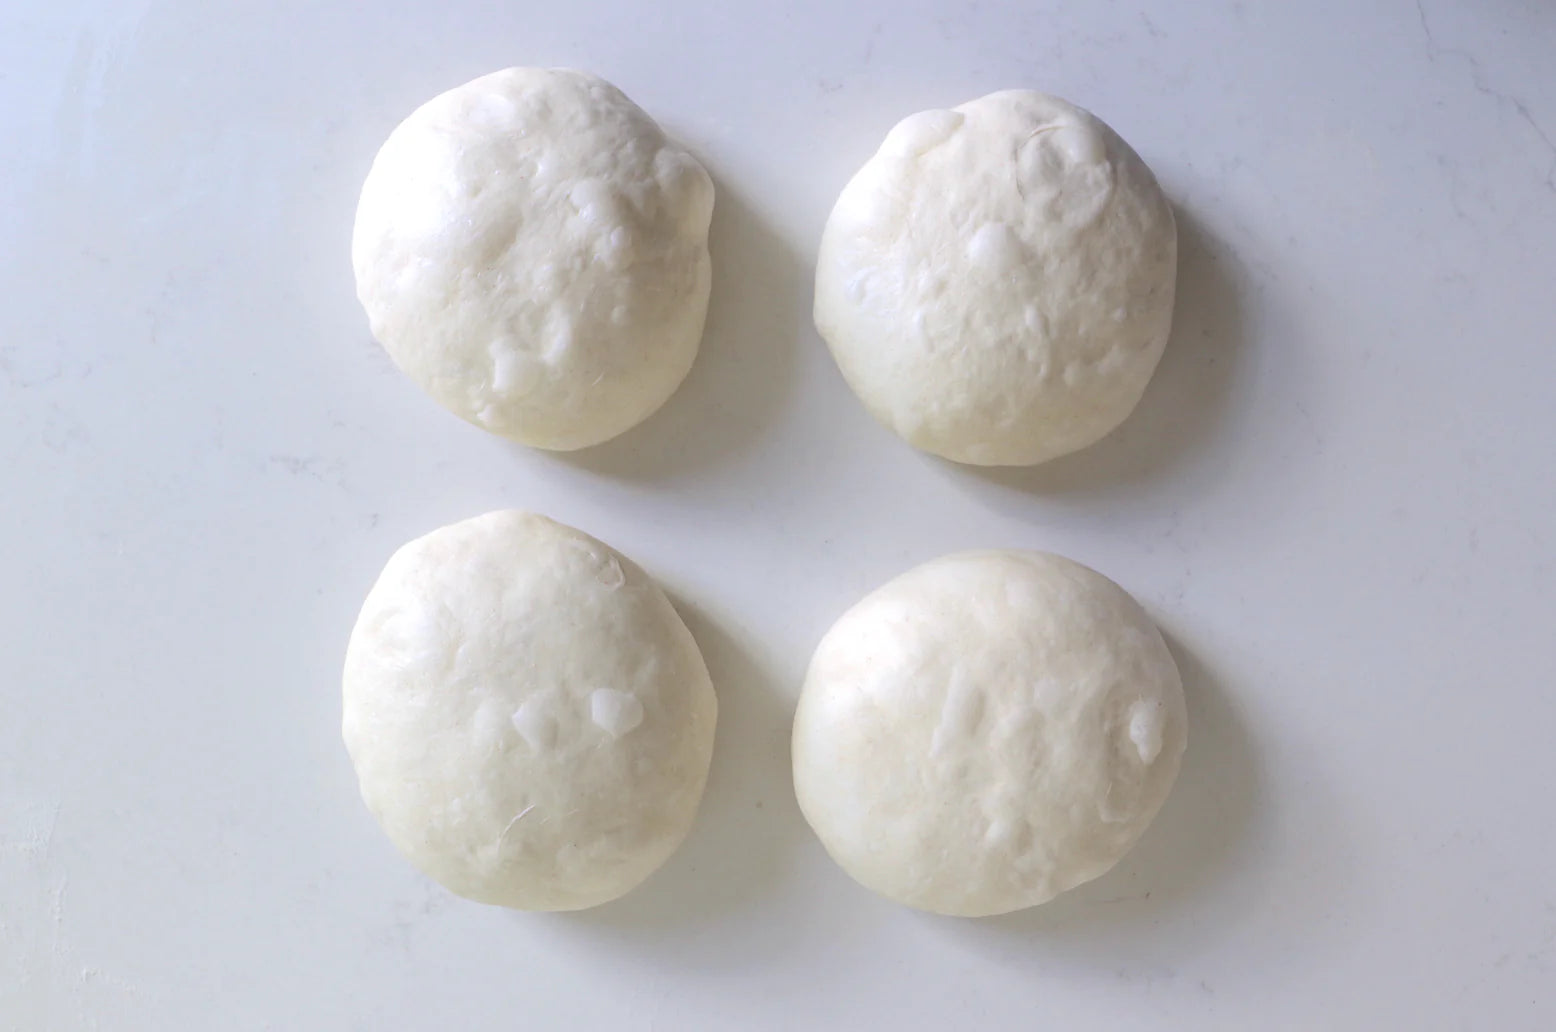
Total Time - 24
Overnight Pizza Dough
12 Ingredients
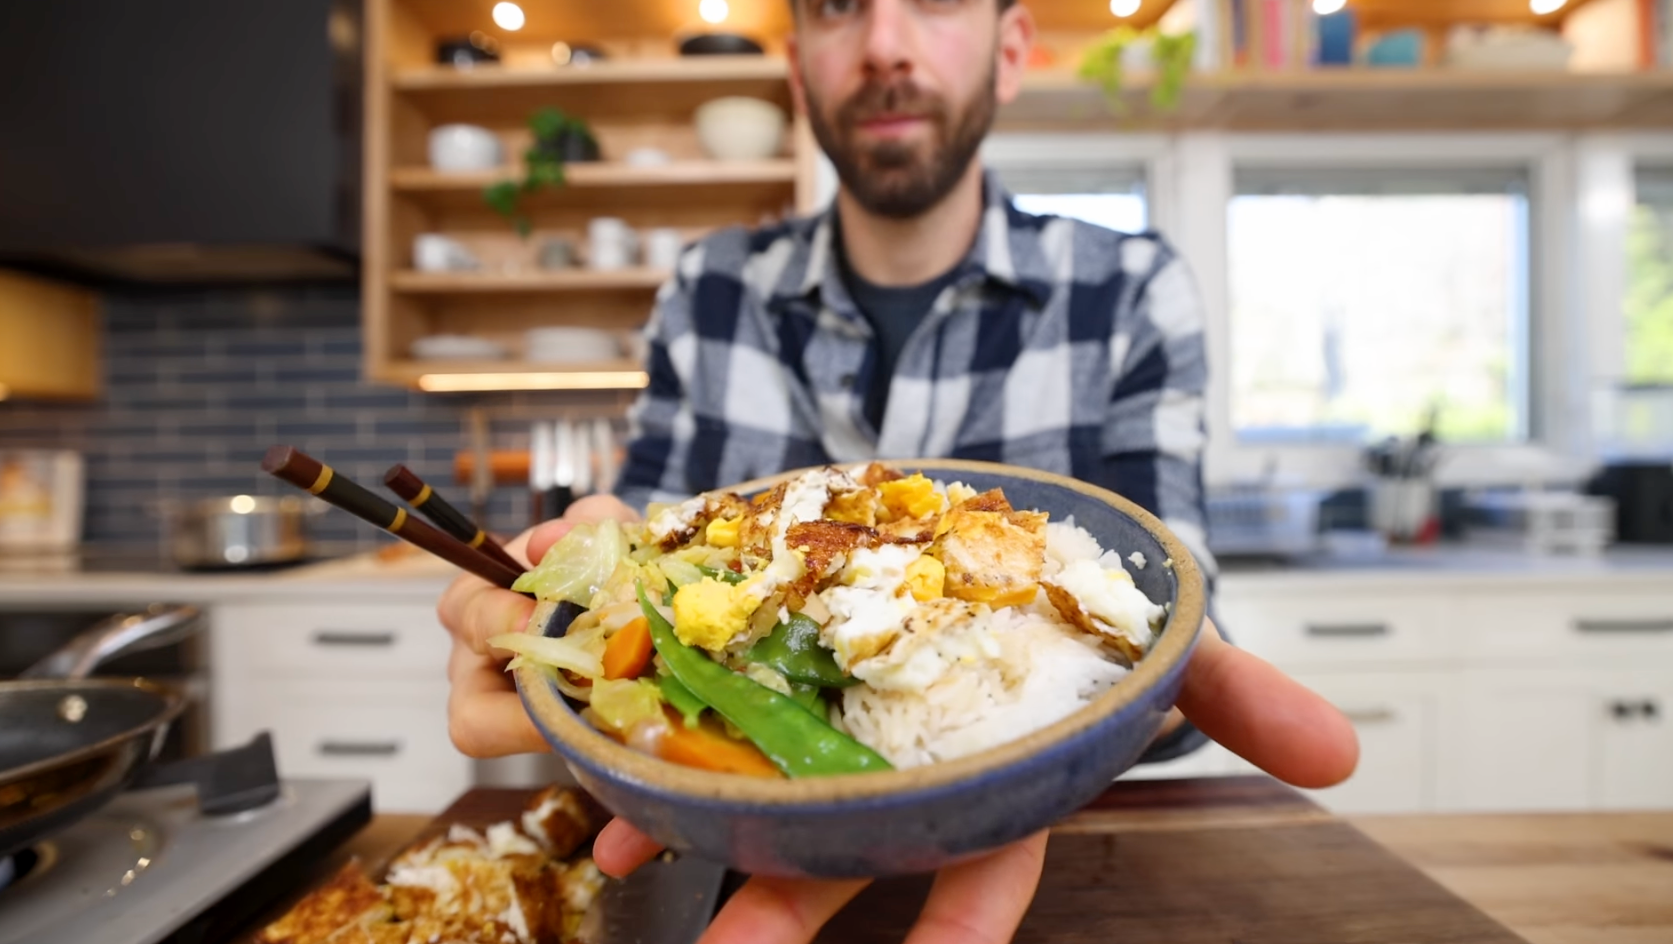
Thai Style Vegetable Stir Fry
12 Ingredients
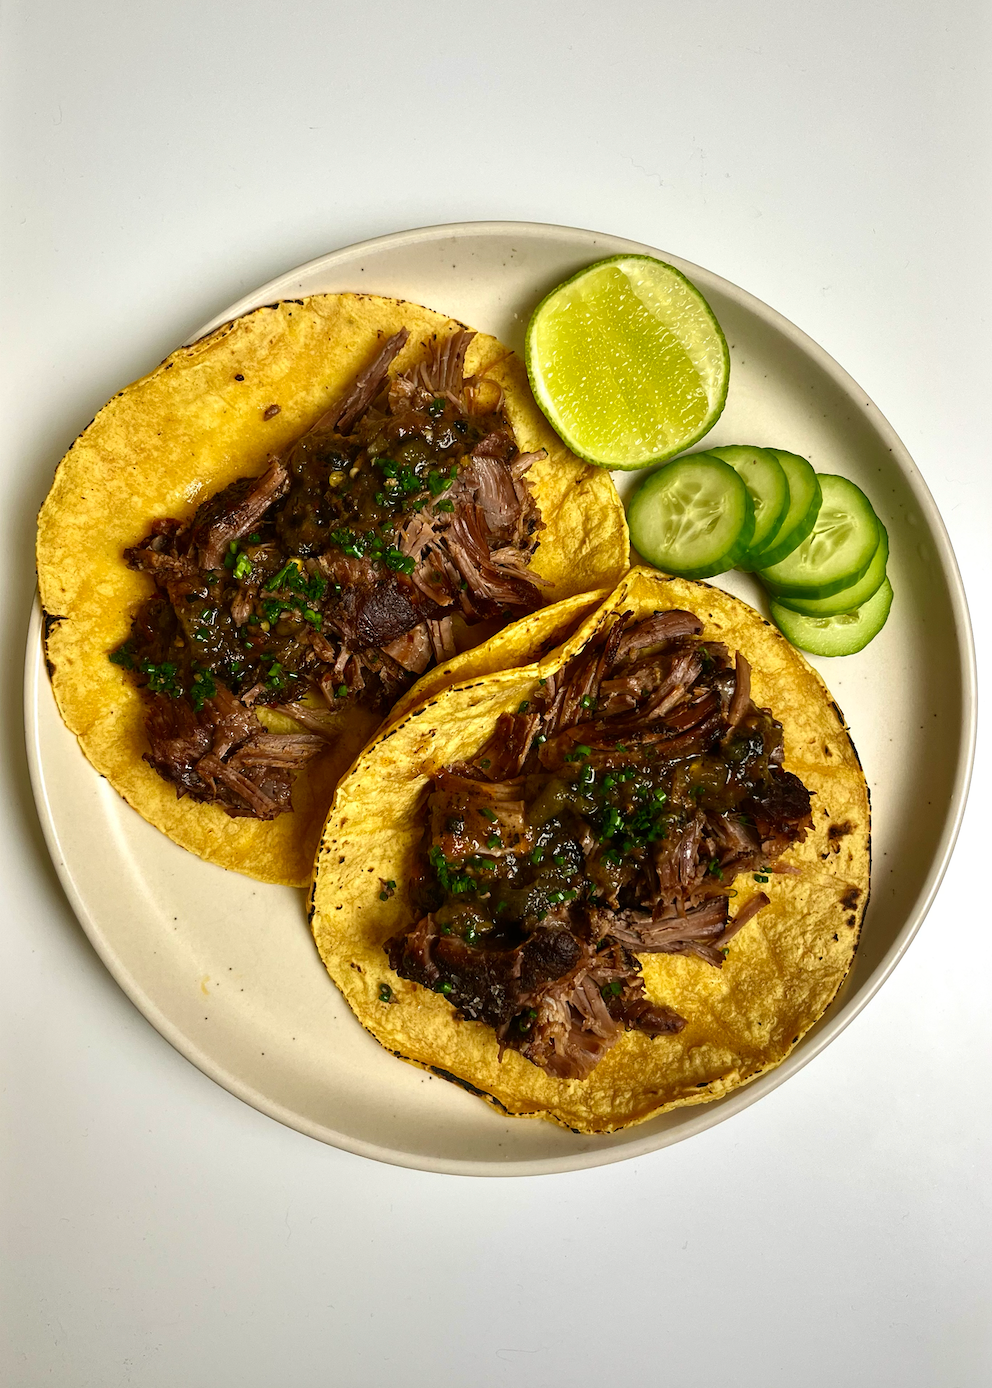
Lamb Barbacoa
12 Ingredients
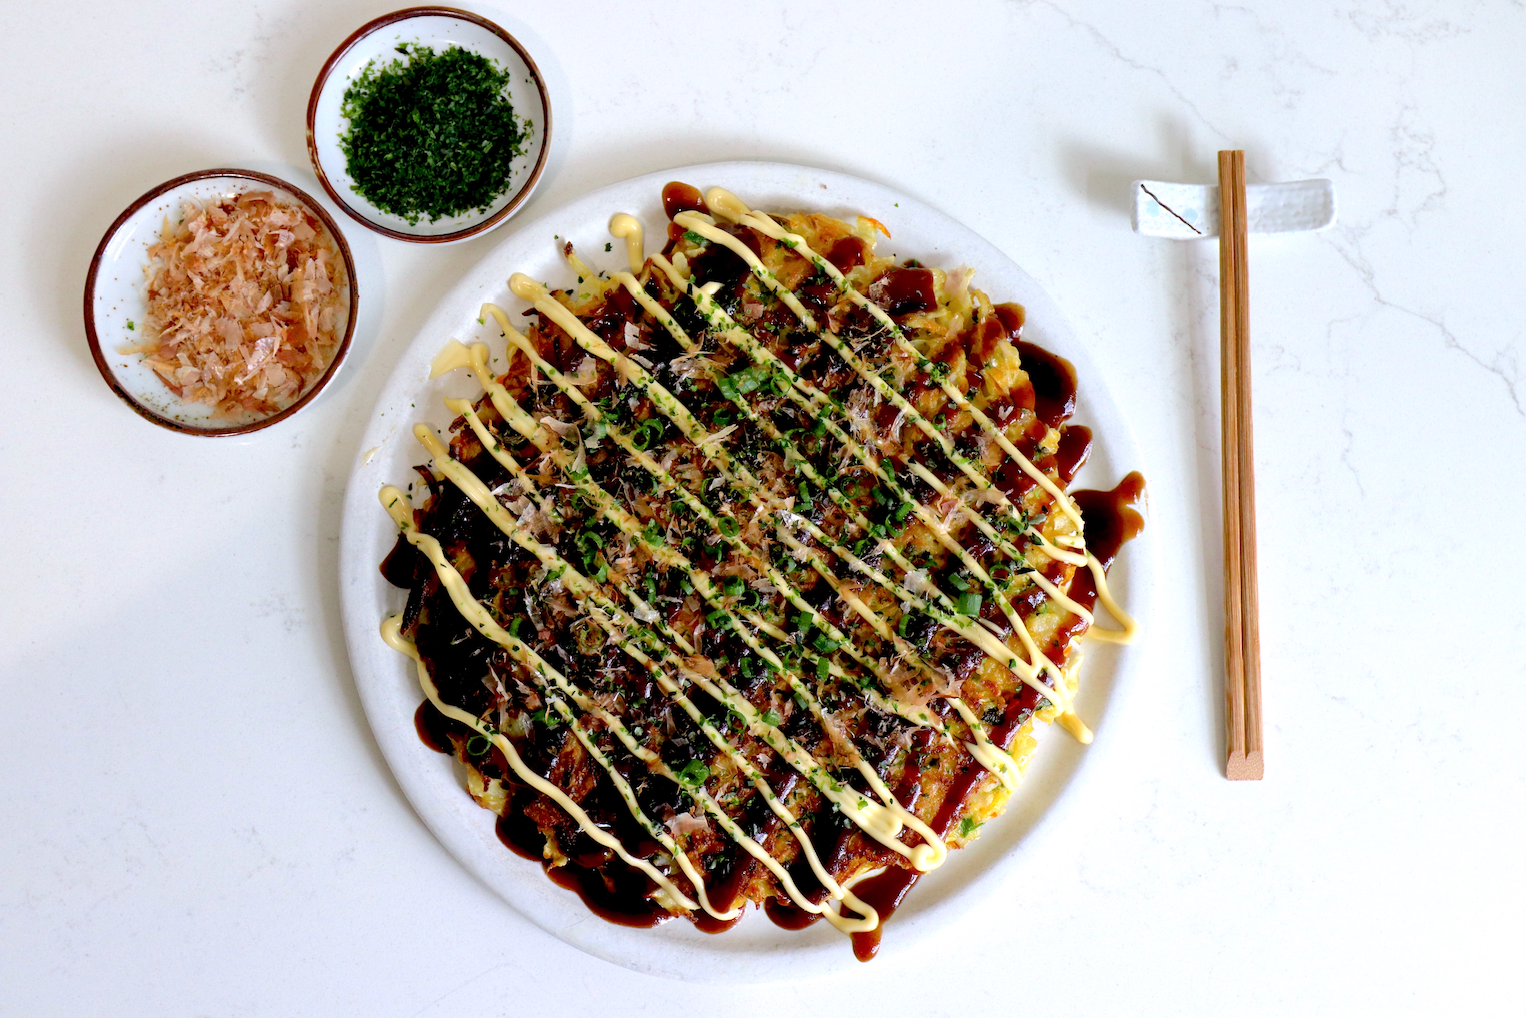
Japanese Cabbage Pancake - Okonomiyaki
12 Ingredients