I get thousands of messages from people who are early on in their sourdough bread journey asking me about how to get a good oven spring. Why there bread is flat? Or why they can’t get the perfect sourdough bread? Well generally, I tell them two main things that once they are corrected it can take your bread from good to great. I will be isolating these two steps and talking about them in depth so that you can be paying very close attention to them. With these two steps you will be able to take your bread from decent to fantastic. Check out the full video here.
Tip 1: Make Sure Your Starter is Active!
There are so many countless times where the issue is just an inactive or not fully active starer. Making sure that you use your starter while it is fully activated and has domed is the key. You can still use your starter if it loses its dome but it just won’t be as strong. Using a really active starter makes a world of difference but also taking the time to feed your starter every day can help you create some epic looking loaves too.
Tip 2: Proper Bulk Fermentation.
Bulk fermentation is when you let the dough double in size. Normally, when you use instant yeast, this can take 1 – 2 hours but this is not the same for sourdough. We are so used to using instant yeast and letting bread rise for 1 – 2 hours that when we transition to sourdough its a huge change.
Naturally, sourdough takes hours, approx. 4 -5 hours, to bulk ferment. However, this process depends a lot on the variables that you’re letting your sourdough ferment in. Placing your bread in a container with ppre-measured lines helps to keep track of how much your bread has risen aka when you bread has doubled in size.
How to Properly Feed Your Starter

Ingredients
-
85 grams starter
-
100 grams of bread flour
-
100 grams of water
Instructions:
-
In a medium size container add water and flour to your starter and mix it together until all the flour and water has been absorbed.
-
Let the starter feed on the flour and water and become super active. This will take about 4 – 5 hours but really it will all depend on your environment so just be sure to watch it every hour.
-
You will notice that the starter will start to dome on the top and has bubbled to twice its size, sometimes even more. This means it is ready to use so let’s begin bread making!
Sourdough Bread (80% hydration)

Ingredients
-
100 grams of whole wheat flour
-
600 grams of bread flour
-
560 grams of water
-
160 grams of starter
-
18 grams of fine sea salt
-
Sesame seeds, optional
Instructions:
-
In a large bowl combine your two flours, water, starter, and salt. Mix with a bread whisk or any other strong utensil like a large spoon. You want to make sure all the water has been absorbed. Your dough should be sticky to the touch. Cover with a wet towel for 10 minutes.
-
After the 10 minutes are up, wet your hand with a little bit of water and give it a stretch and fold. Be gentle, you don’t want to tear or over stretch your dough.
-
Every 30 minutes for the next 2 – 2 1/2 hours give your dough 3 – 4 stretches and folds or coil fold. Check out how I folded my bread here!
-
After your stretch and folds are done, it is time for the bulk rise. Set your dough into a container and cover with a lid or wet towel. Let this rise until almost double in size. Time is a big ingredient in this recipe! I won’t be able to tell you an exact time because there are other variables like the weather and the temperature of its environment.
-
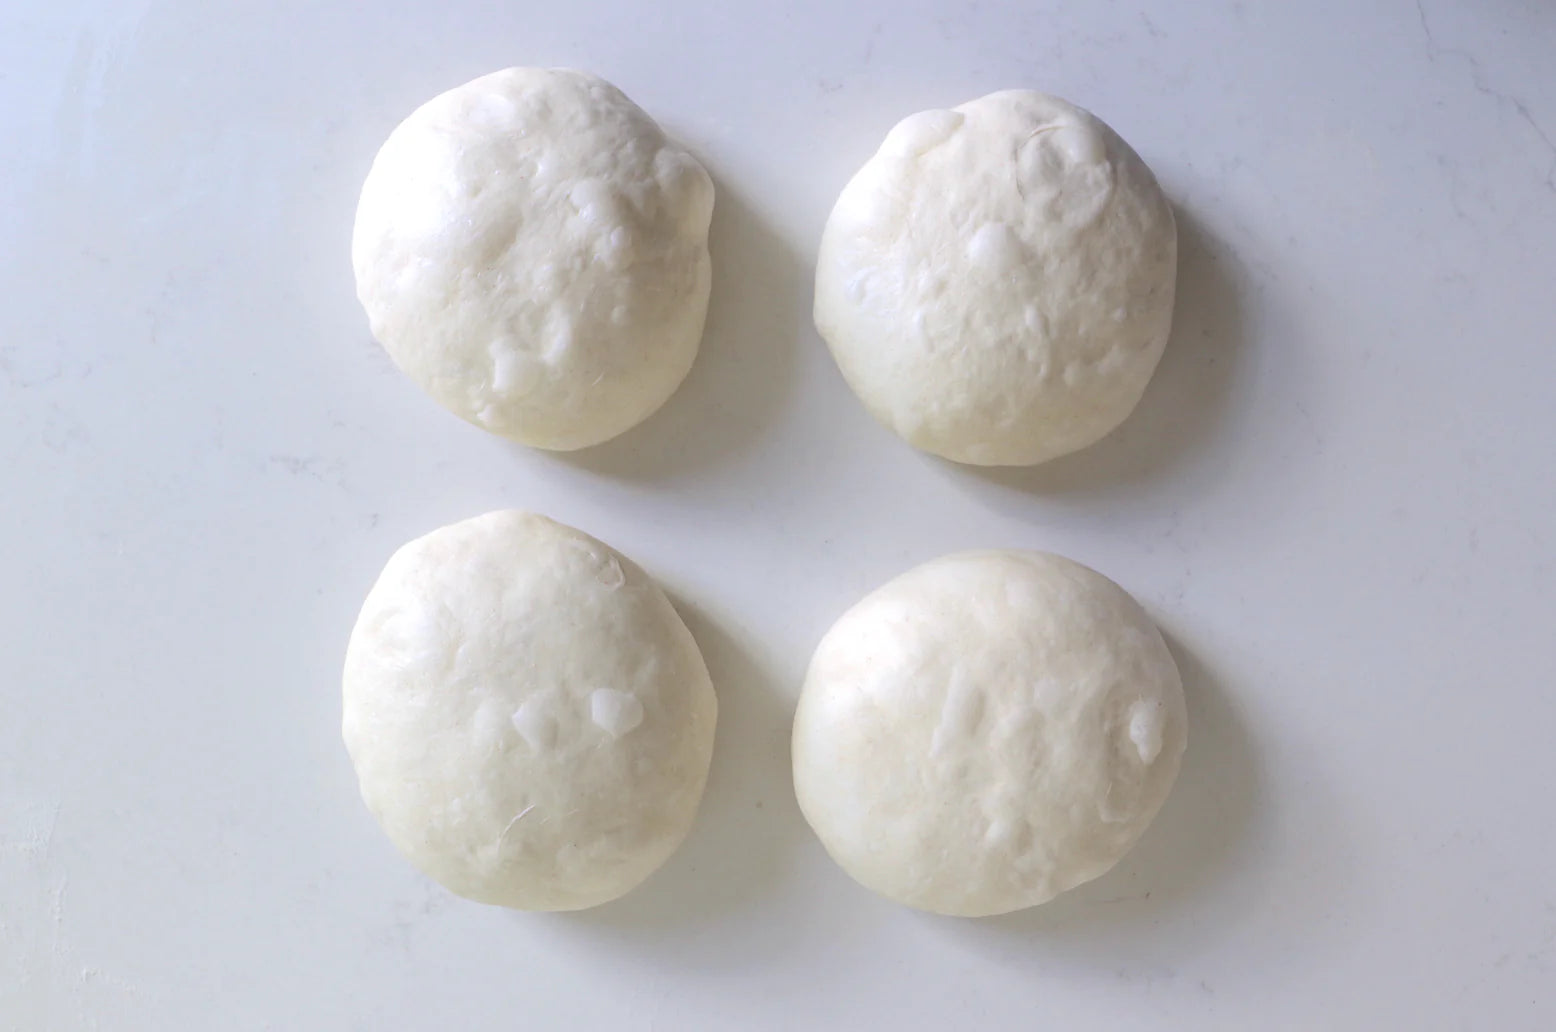
Once your dough has doubled in size, take it out of the container and spilt into two equal dough pieces.
-
Next, pre shape your dough balls by doing another coil fold. Cover with a wet towel and let it rest for 20 minutes. In the meantime, dust your bannetons with flour.
-
Now, we are going to do a final shaping. Check out my video to see how I do my final shaping to create some tension in your bread!
-
Grab your shaped dough and dip the seam side down in some sesame seeds. Then place them seam side down into floured banneton. Heavily dust the tops of your bread with some more flour.
-
Cover with a plastic bag or wrap and proof in room temp for 1 – 3 hours or until it passes the poke test. However, I like to give the dough its final rise in the fridge and bake the dough in the morning.
-
Once your dough passes the poke test, preheat your oven to 500 degrees Fahrenheit. Be sure to put your dutch oven in to get preheated as well.
-
Once the oven is preheated, flip your bread out of the banneton and onto a parchment paper to help you. Brush off the excess flour and give it a slash right down the center of the bread.
-
Place the loaf in the dutch oven by using the parchment paper to transport it. Cover the dutch oven and bake for 20 minutes.
-
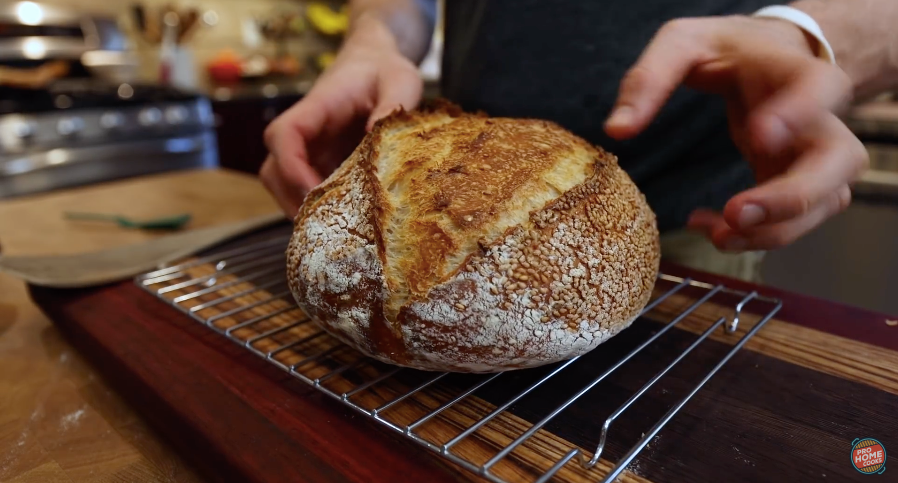
Next, take the lid off, lower the temp fro 475F and bake for another 20 minutes or until you like the golden color of your bread.
-
Now that the bread is done, take it out of the dutch oven and let it cool on a wire rack for about 20 – 30 minutes. Slice into your bread and enjoy!!!